Remodel over existing tile. Skip the demolition.

Seamless, cement-free surfaces troweled straight over the materials already there — tile, drywall, concrete or wood. The alternative to microcement, in bathrooms, showers, balconies, pool decks and floors.

Before Before
After After
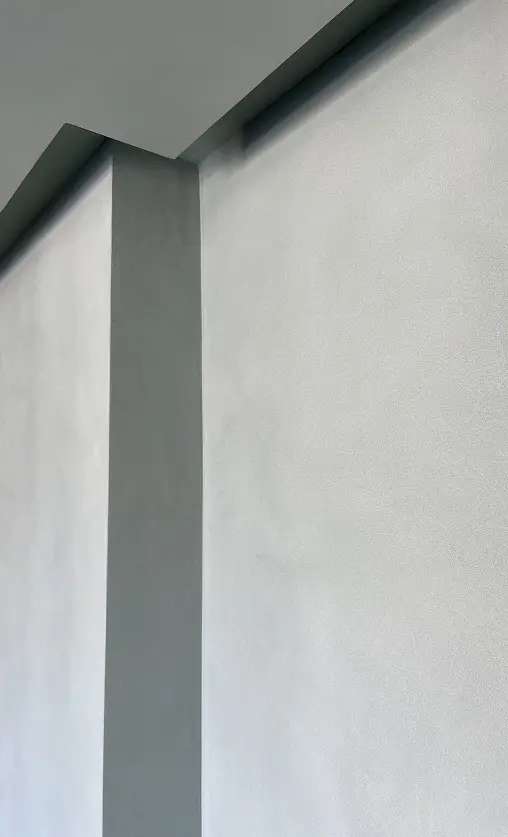
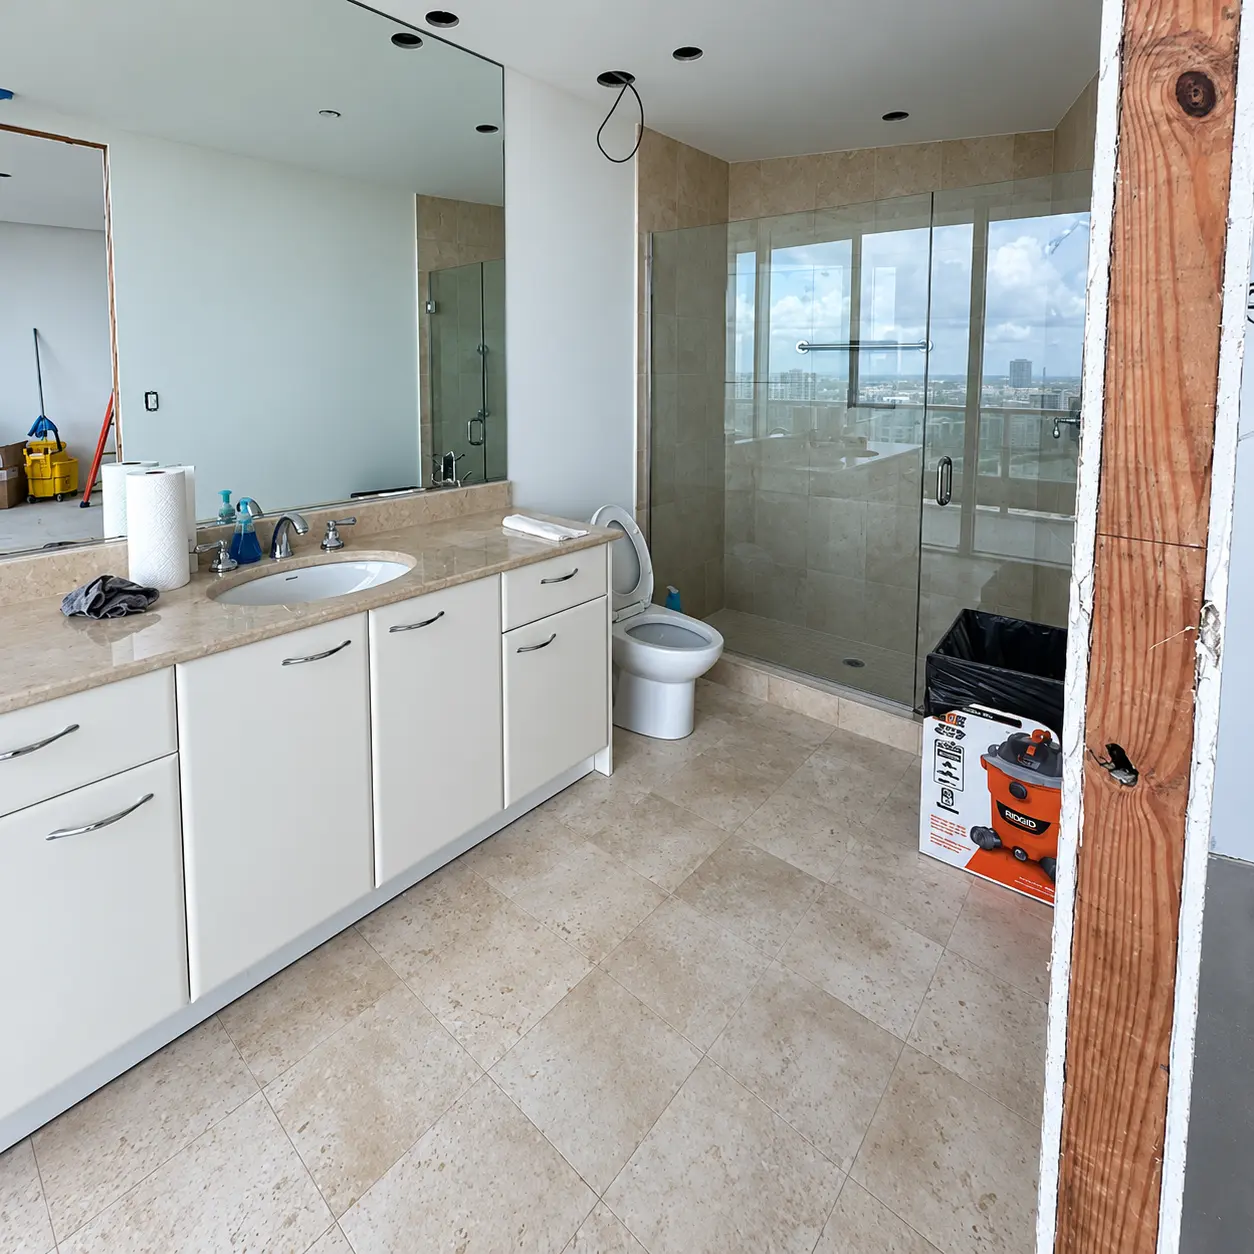
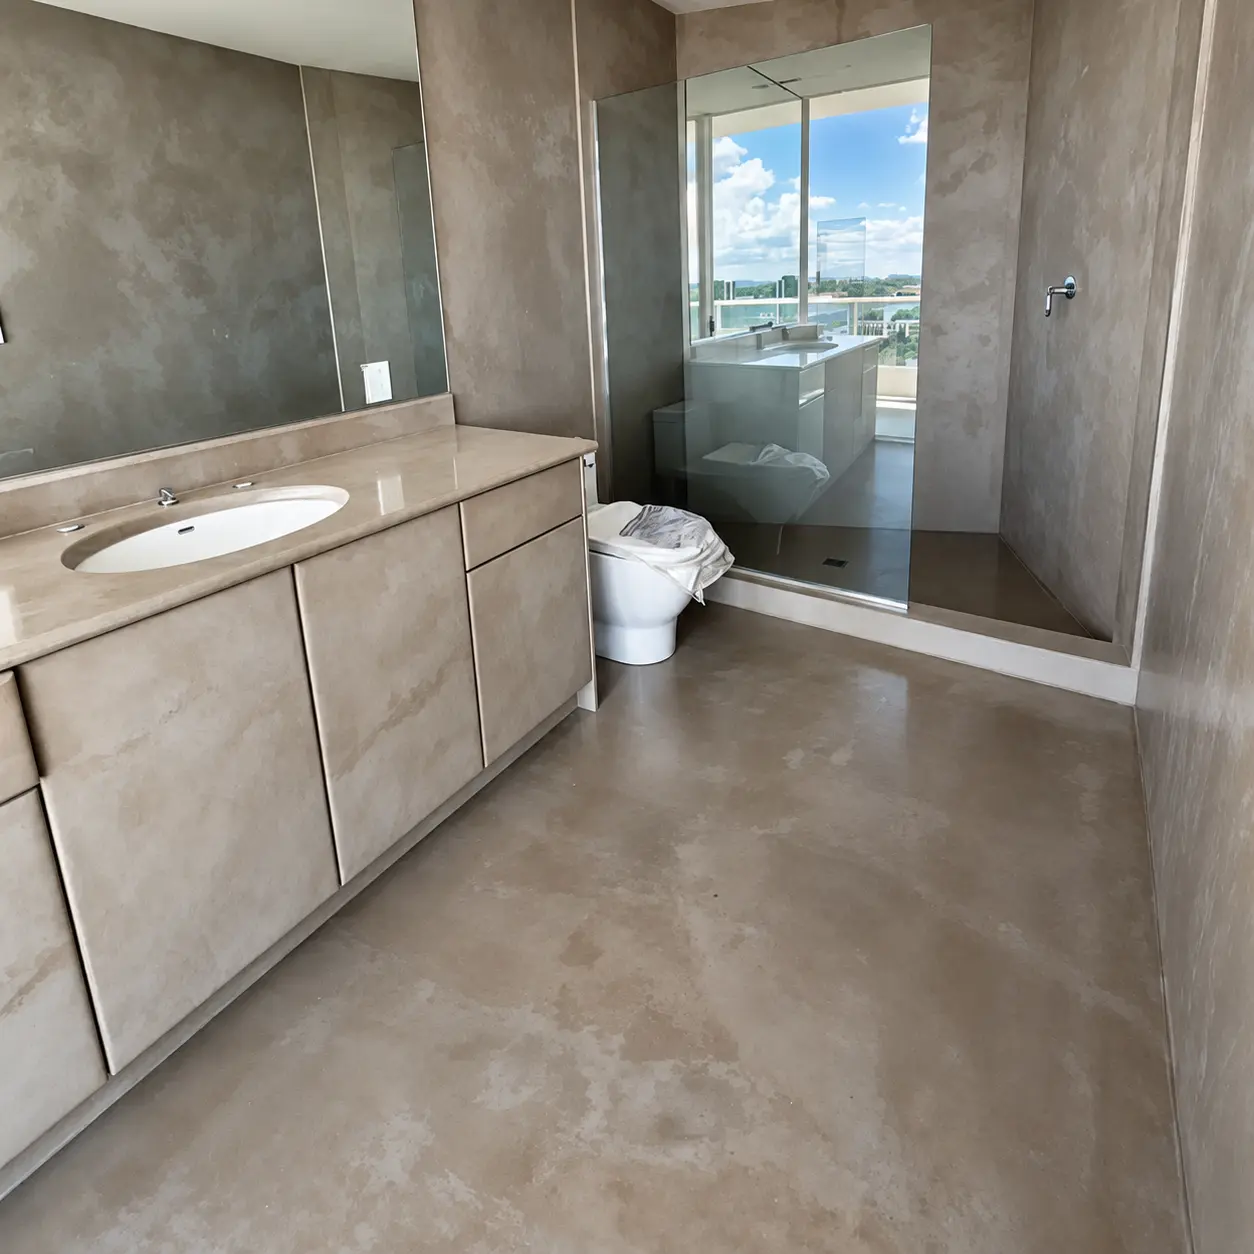
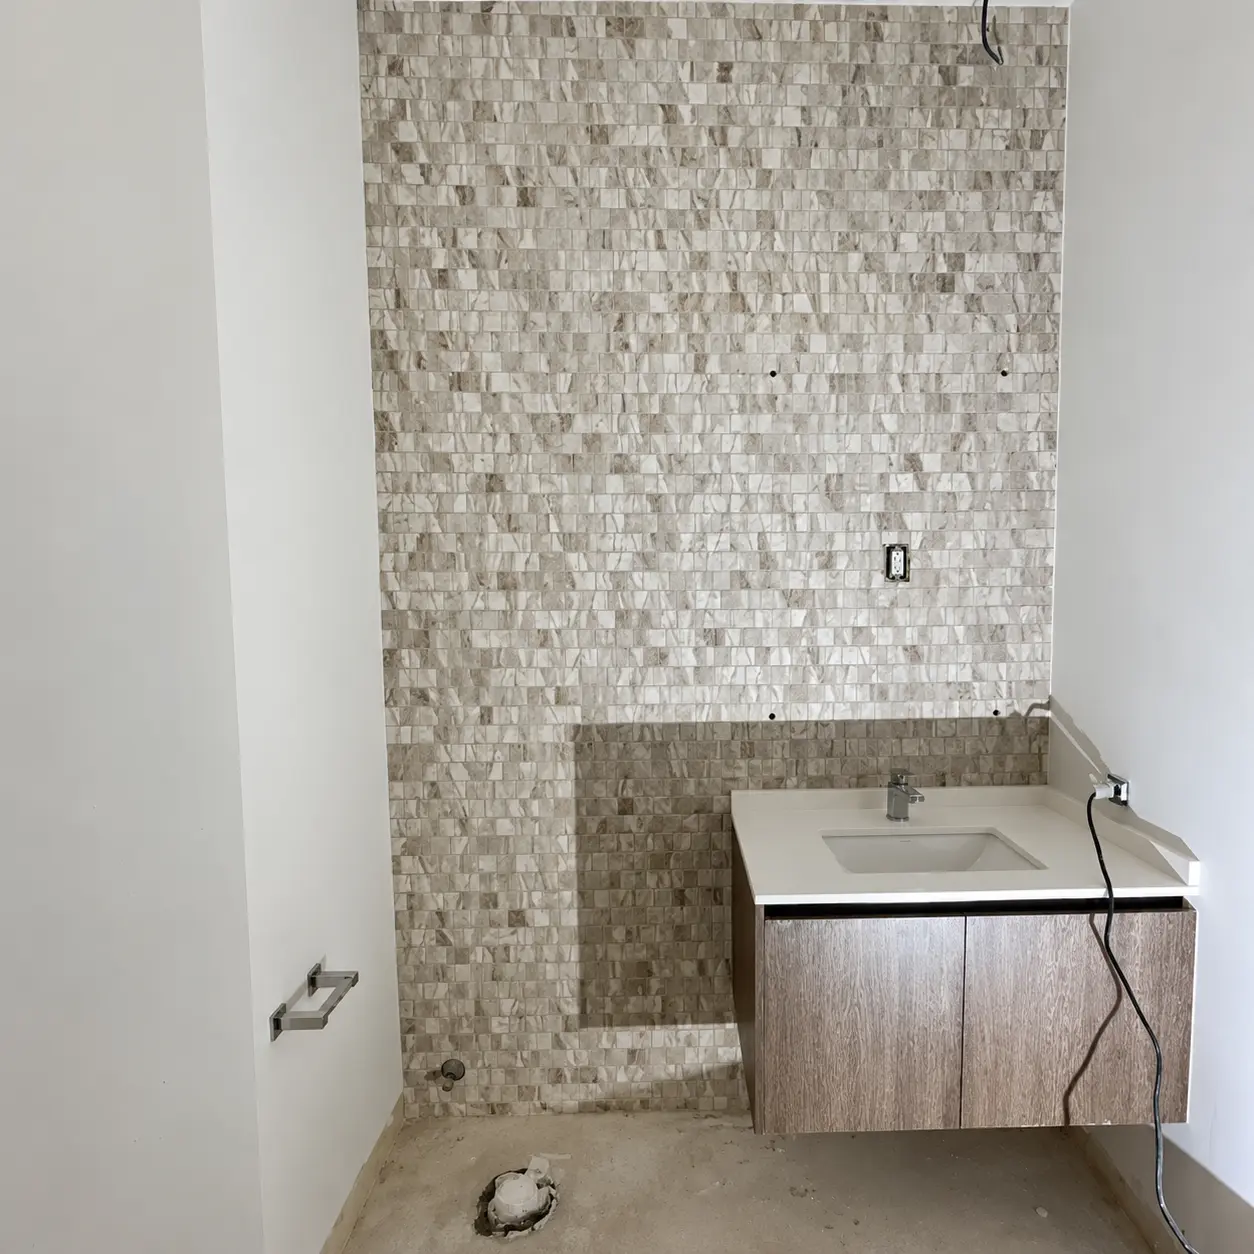
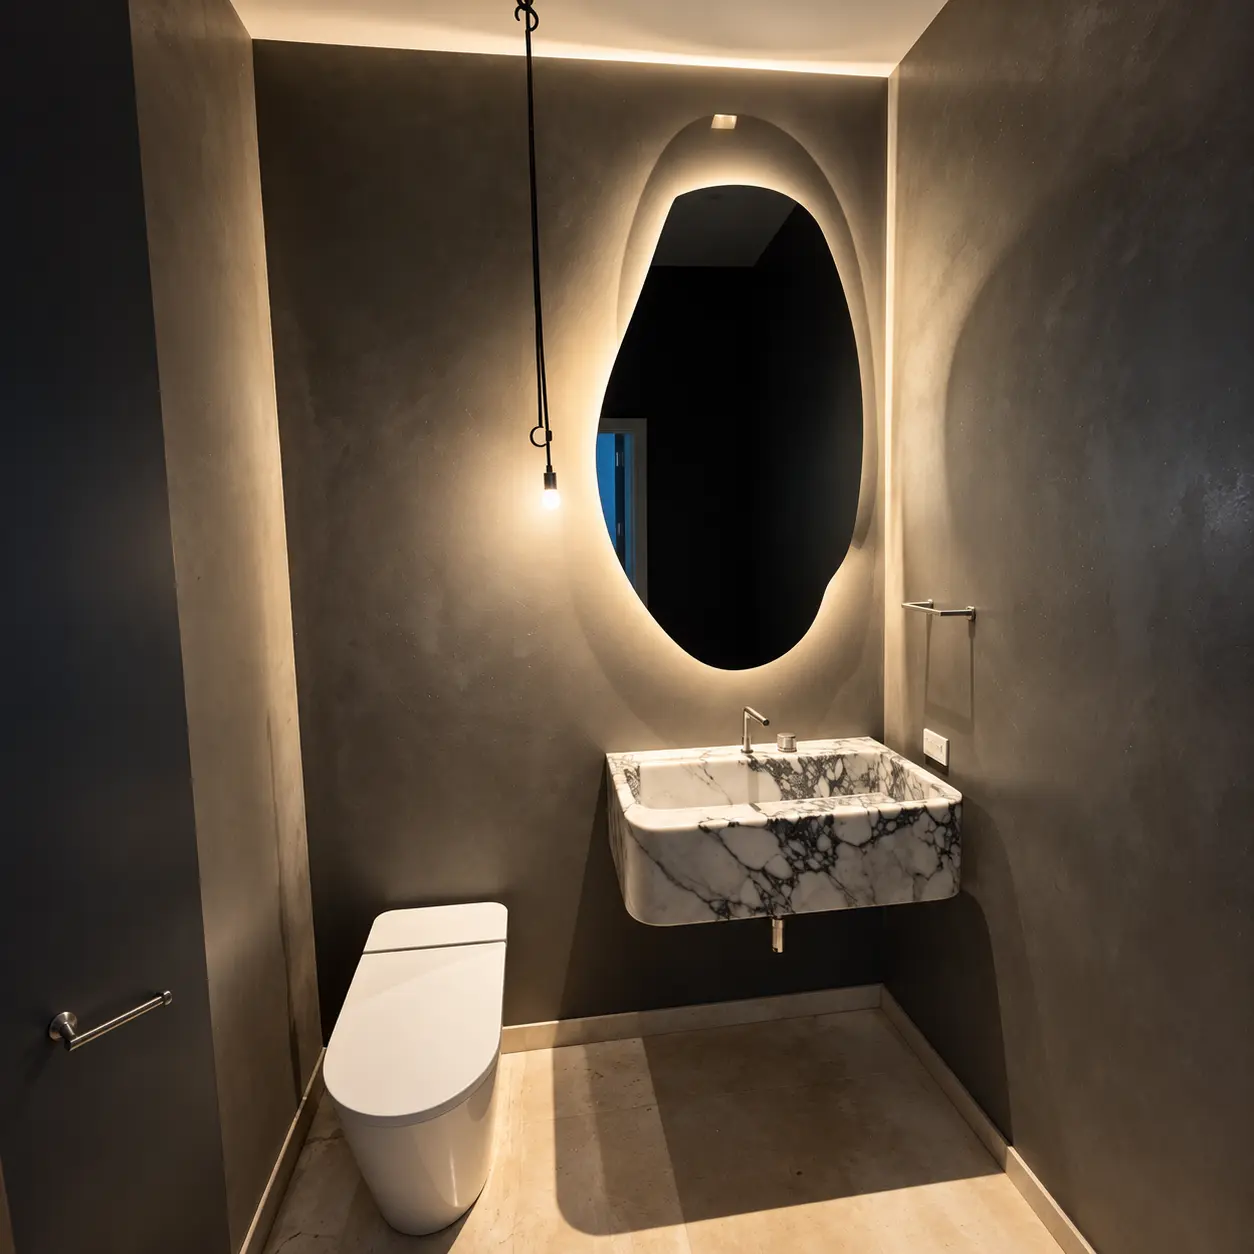
Brickell, Miami — Rise, Brickell City Centre · Powder room and primary bathroom remodel

A powder room and primary bathroom remodel over existing mosaic tile. The busy mosaic disappeared under one continuous surface — no demolition, no waste disposal, and nothing that required a permit. What had read as dated and restless came back minimal and modern.

Drag to compare

A remodel over existing tile,
with no demolition and no permits

  • The demolition never happens

    No tear-out, no dumpster on the drive, no disposal line on the estimate. The household carries on around the work.

  • No joints, no grout

    One continuous surface, with dividing lines only where you asked for them.

  • It goes over what is already there

    Over existing tile, drywall, concrete or wood — any surface that is smooth, sound and properly prepared. Waterproof before the sealer goes on.

  • No permits, no weeks out of use

    A remodel that changes nothing structural usually skips the permitting queue — and no bathroom or balcony is closed off for a month.

  • One material, floor to ceiling

    Walls, floors, wet areas, inside and out. One surface instead of five different ones meeting at every edge.

Cover the tile without removing it

Bathroom, shower, balcony and pool deck remodels — the same space, before and after

Before Before
After After
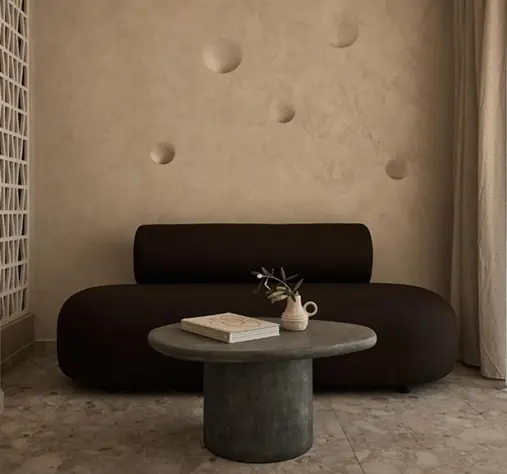
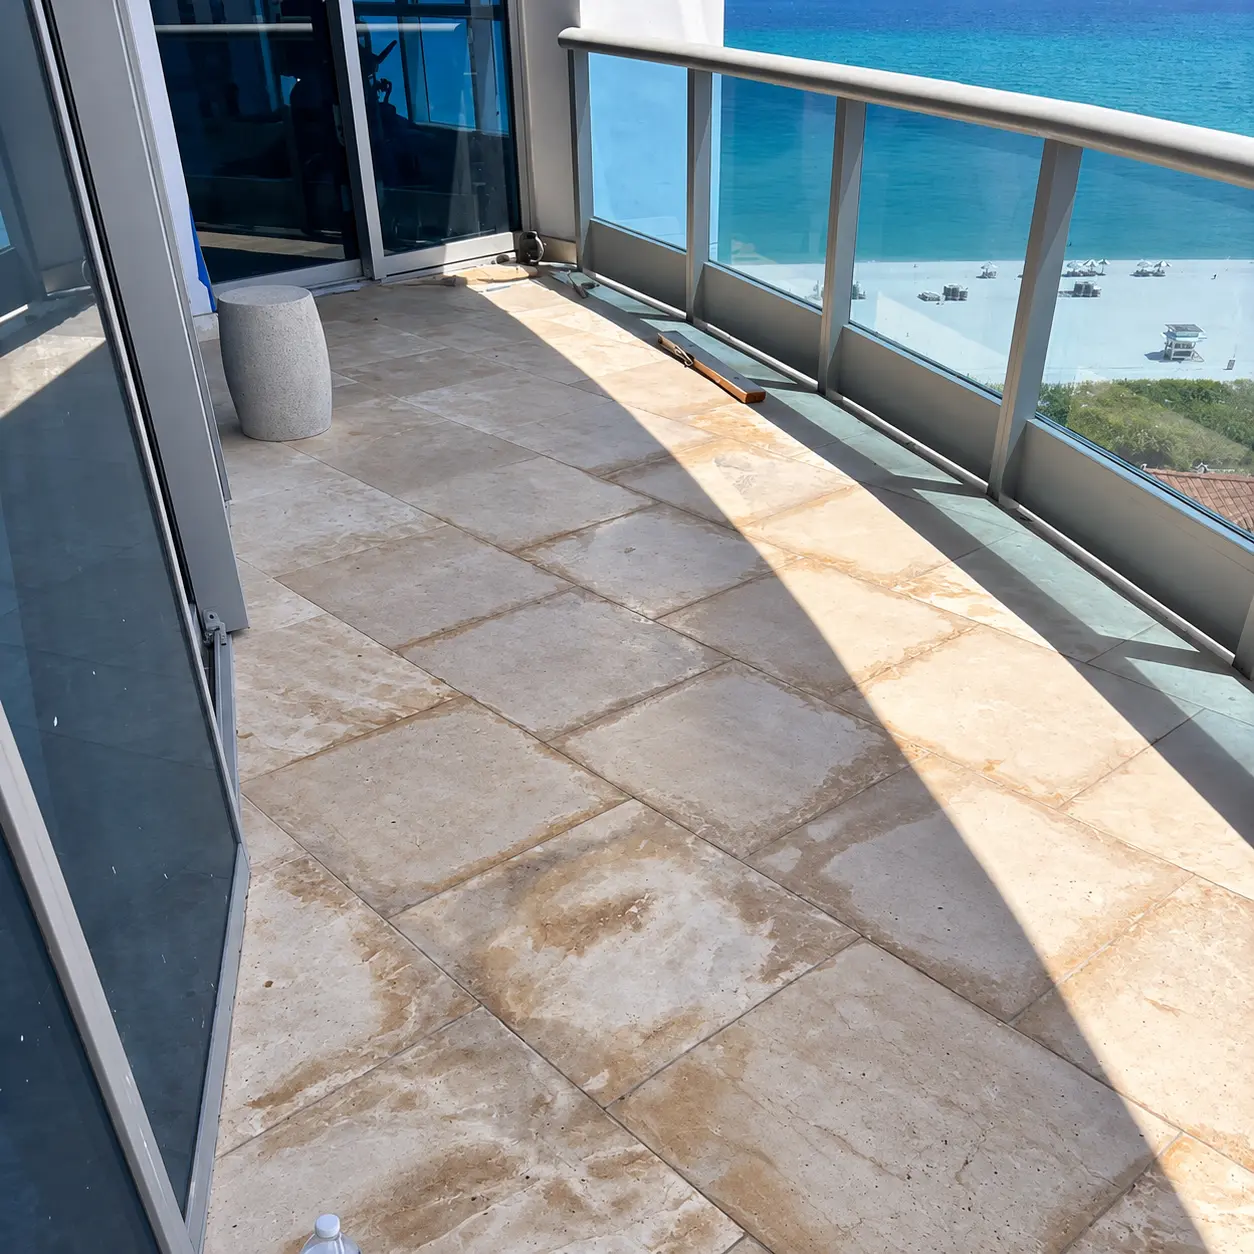
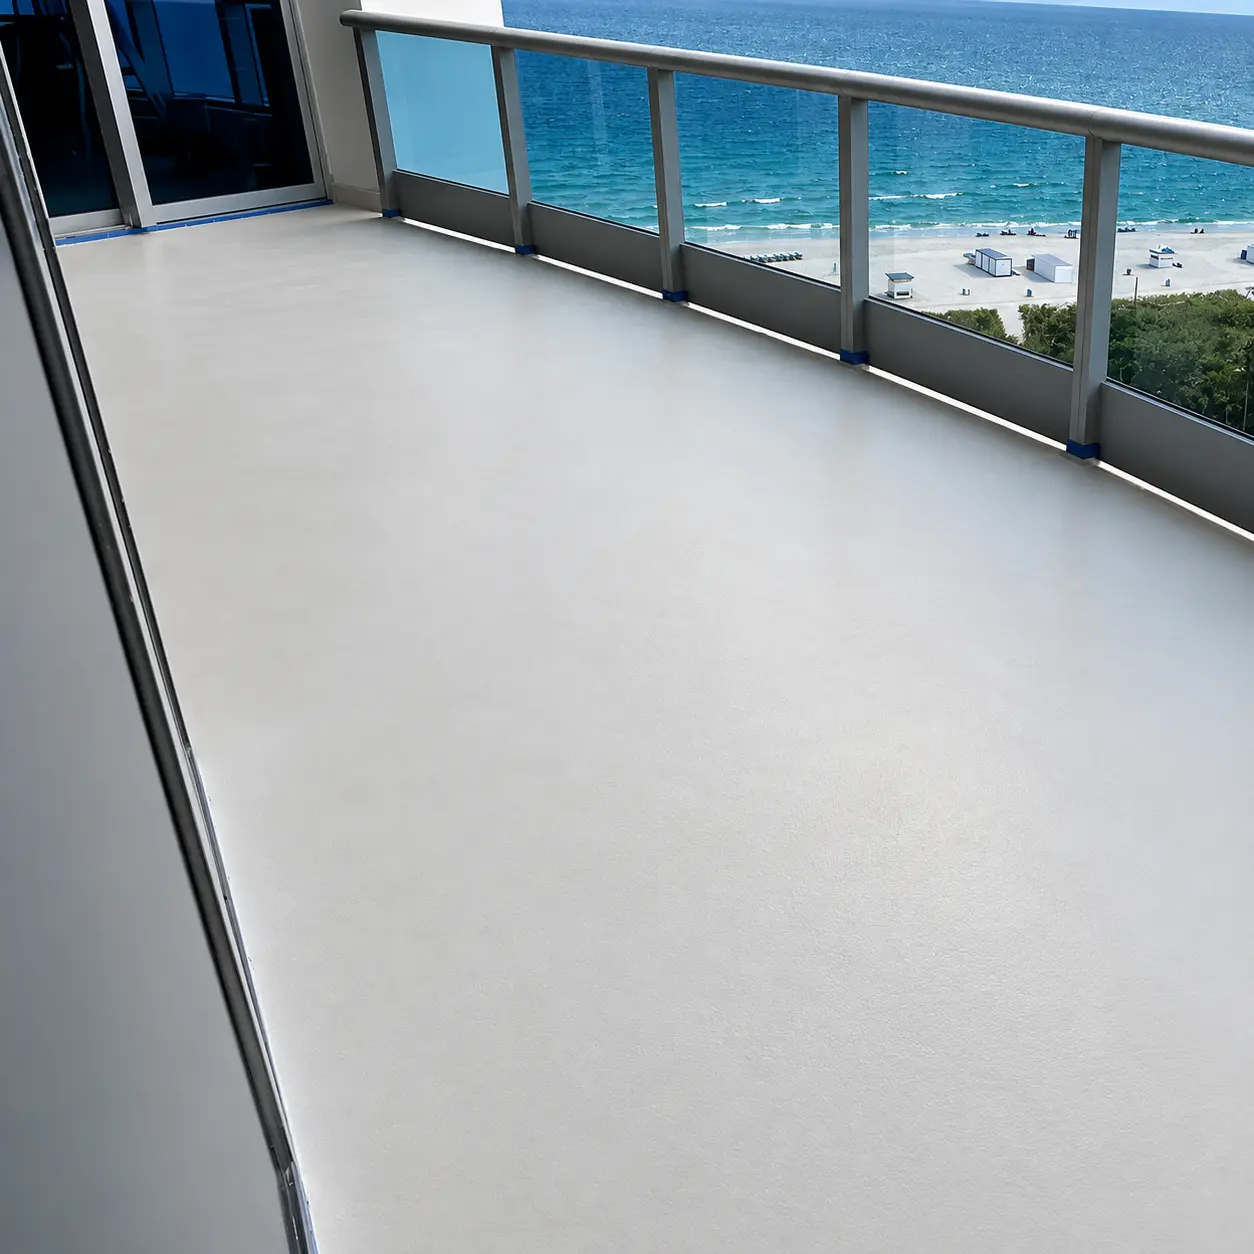
Aventura, Miami — Porto Vita, Villa Grande · Balcony remodel

Balcony resurfacing straight over the existing tile, with the waterproofing membrane beneath it left intact — the largest line in a balcony renovation, and the one that never has to be opened. In a condo tower the argument is about the neighbors as much as the cost: no jackhammer, no service elevator tied up for days, no dust or noise through the building, and no demolition crew working beside the glass. No waste hauling either, and no permit delay on the schedule.

Drag to compare

Where the money goes in a bathroom remodel

One 400 sq ft shower remodel, priced two ways.

50–80% less than a tile-replacement remodel
7 → 1 line items on the estimate become one
0 permits · demolition · dumpsters
Option A · replacing the tile

Gut the bathroom and replace the tile

Demolition, dumpster, new waterproofing, substrate repair, new tile set and grouted, plumbing pulled and reset, permits where the work is notifiable. Three to six weeks with the bathroom out of use.

100%of the budget
Where every dollar goes seven separate line items
30–40%
20–30%
15–25%
5–10%
5–10%
versus

What a tile replacement consists of, and why resurfacing skips it

Waterproofing & substrate prep
30–40%
The single biggest line in the job, and the one that rarely appears on a first estimate. It varies most, too — a shower pan rebuild costs a multiple of a wall membrane. Resurfacing works over the waterproofing already there instead of rebuilding it.
Tile, bought and set
20–30%
“Tile” is not one price, which is why this line is the hardest to pin down. A 4×6-inch tile is inexpensive to buy and quick to set — ordinary work for any tiler. A large-format slab is expensive at both ends: the material costs a multiple, and setting it takes a specialist crew, a two-man lift and a wet saw, with a breakage risk on every piece. The two ends compound, so the spread runs several times over. Either way the old tile becomes the surface underneath rather than the thing being replaced.
Plumbing
15–25%
Fixtures stay where they are. Nothing is opened up, so nothing has to be put back.
Demolition
5–10%
Nothing is broken out, so an occupied home or building stays occupied through the work.
Repair, disposal, detailing
5–10%
Three smaller lines grouped: substrate repair and leveling, waste disposal, and post-installation detailing. No dumpster, no hauling, no debris down a shared corridor or elevator.

A slab remodel, priced against this one

Installed cost per square foot, the way a shower remodel is quoted. Tile is not one number — a 4×6-inch tile and a book-matched slab are different projects, and the slab is the more expensive one to buy and to set. The comparison here is against the slab end, because that is what a seamless surface is normally specified against.

Large-format stone slabPorcelain and sintered stone slabs — material, fabrication and setting. Surfaces only, no fixtures.
$60–$200/sq ft
TERRAZZO GraniTechSeamless, over the existing tile. Miami at the low end, New York and Los Angeles at the high end.
$30–$50/sq ft
$0$50$100$150$200
dollars per square foot, installed

On a 200 sq ft shower that is $12,000–$40,000 in slab against $6,000–$10,000 seamless — and the seamless figure already includes going over the tile that is there, so the demolition, disposal and waterproofing lines above never open.

Dollar figures move with local labor: a major metro and a rural market are different numbers. The percentages hold everywhere — only the size of the bill changes, not the mix of the job. Surfaces only; fixtures and fittings are excluded on both sides. Slab figures are the published US installed range for large-format porcelain and sintered stone, where the material alone can reach $80+ per sq ft in the costliest markets. Full breakdowns: showers · balconies.

Before Before
After After
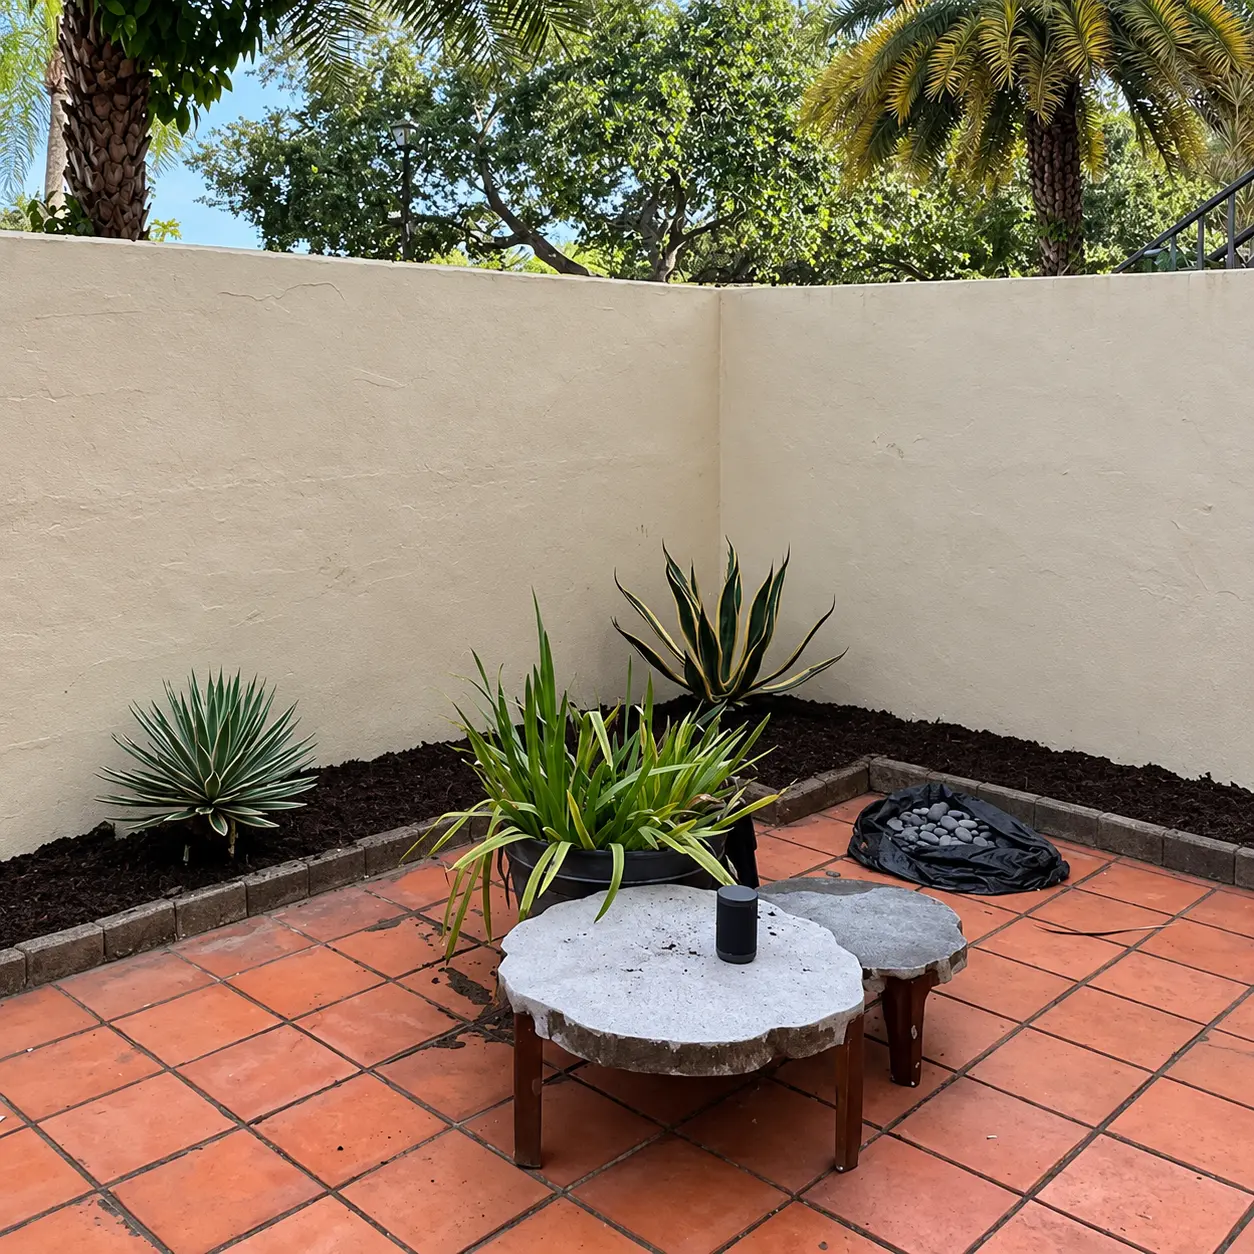
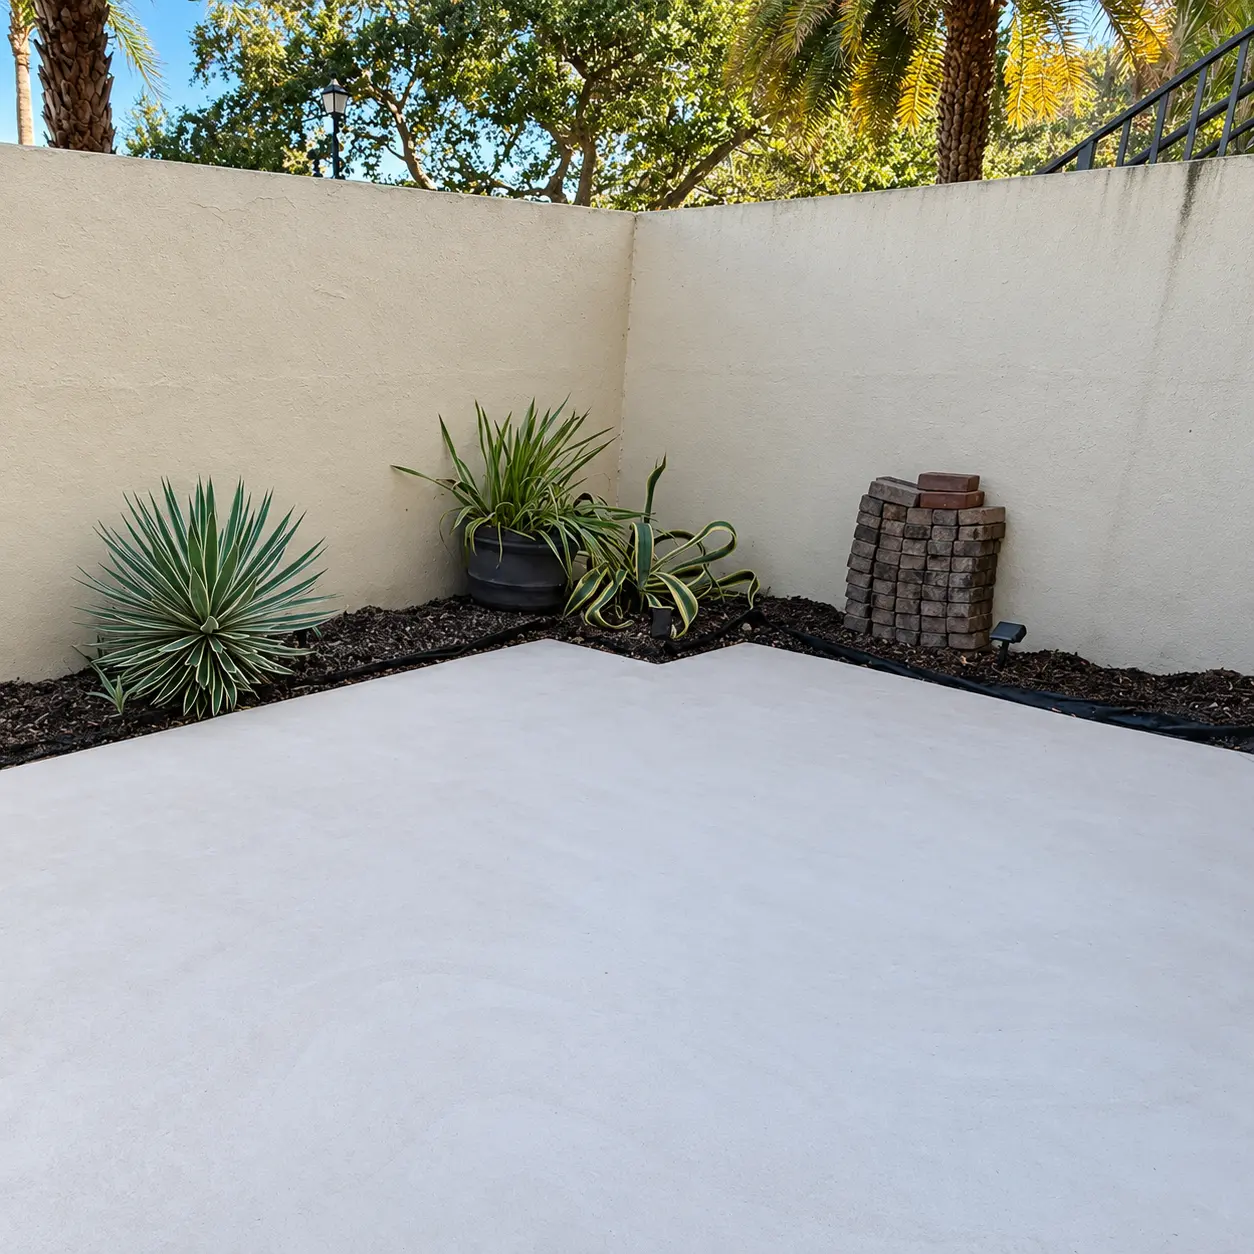
Pembroke Pines — Private residence · Patio remodel

Patio resurfacing over the existing tile, on an outdoor space that had aged badly. Nothing lifted, nothing carted away and no permit to wait on, which took time and cost out of the job before it started.

Drag to compare

Before Before
After After
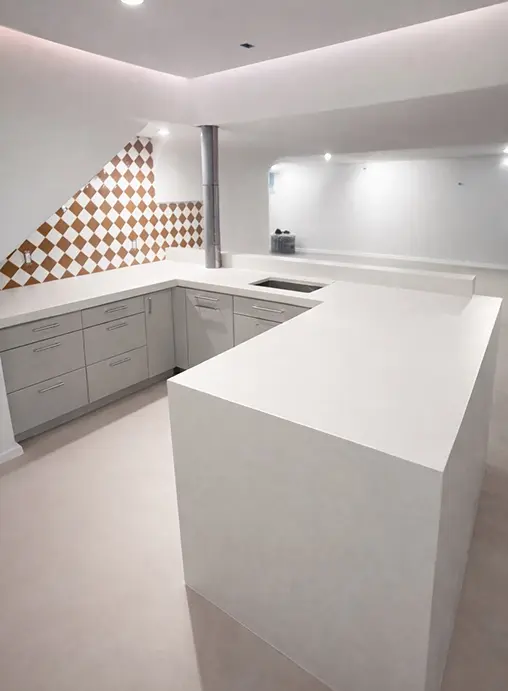
Aventura, Miami — Hidden Bay · Primary bathroom remodel

A primary bathroom remodel in TERRAZZO GraniTech Medium, applied over the existing tile and the dated cabinetry alike — floor, shower and walls carried in one material. No demolition and no waste removal, and what read as cluttered and worn came back as a single cohesive surface.

Drag to compare

Before Before
After After
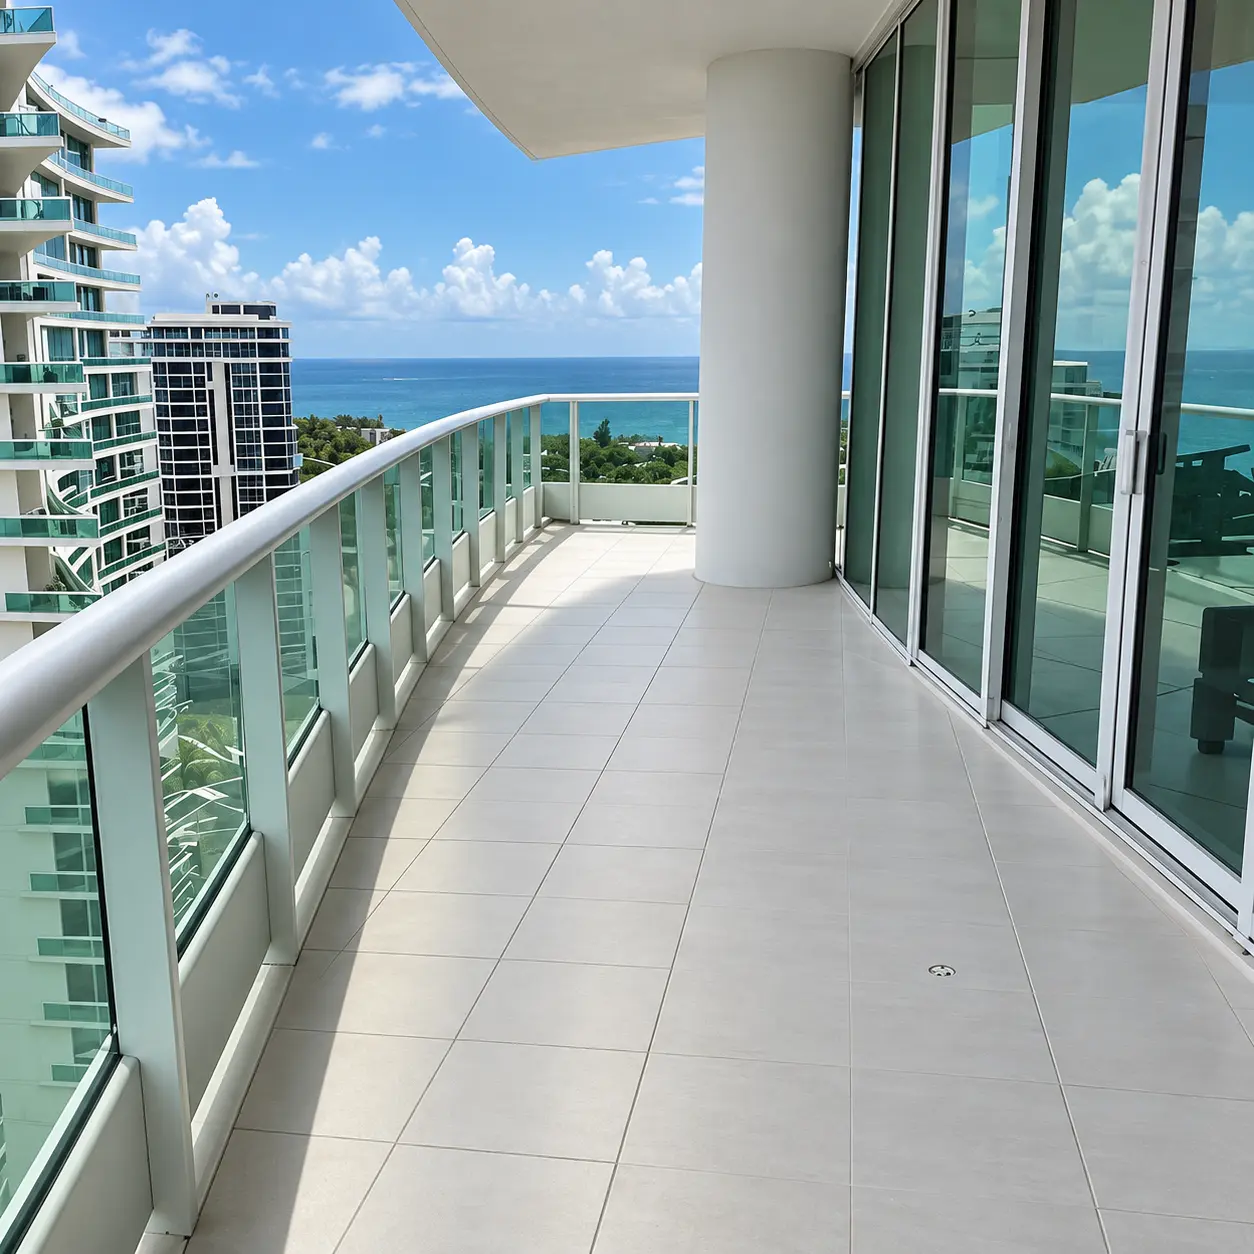
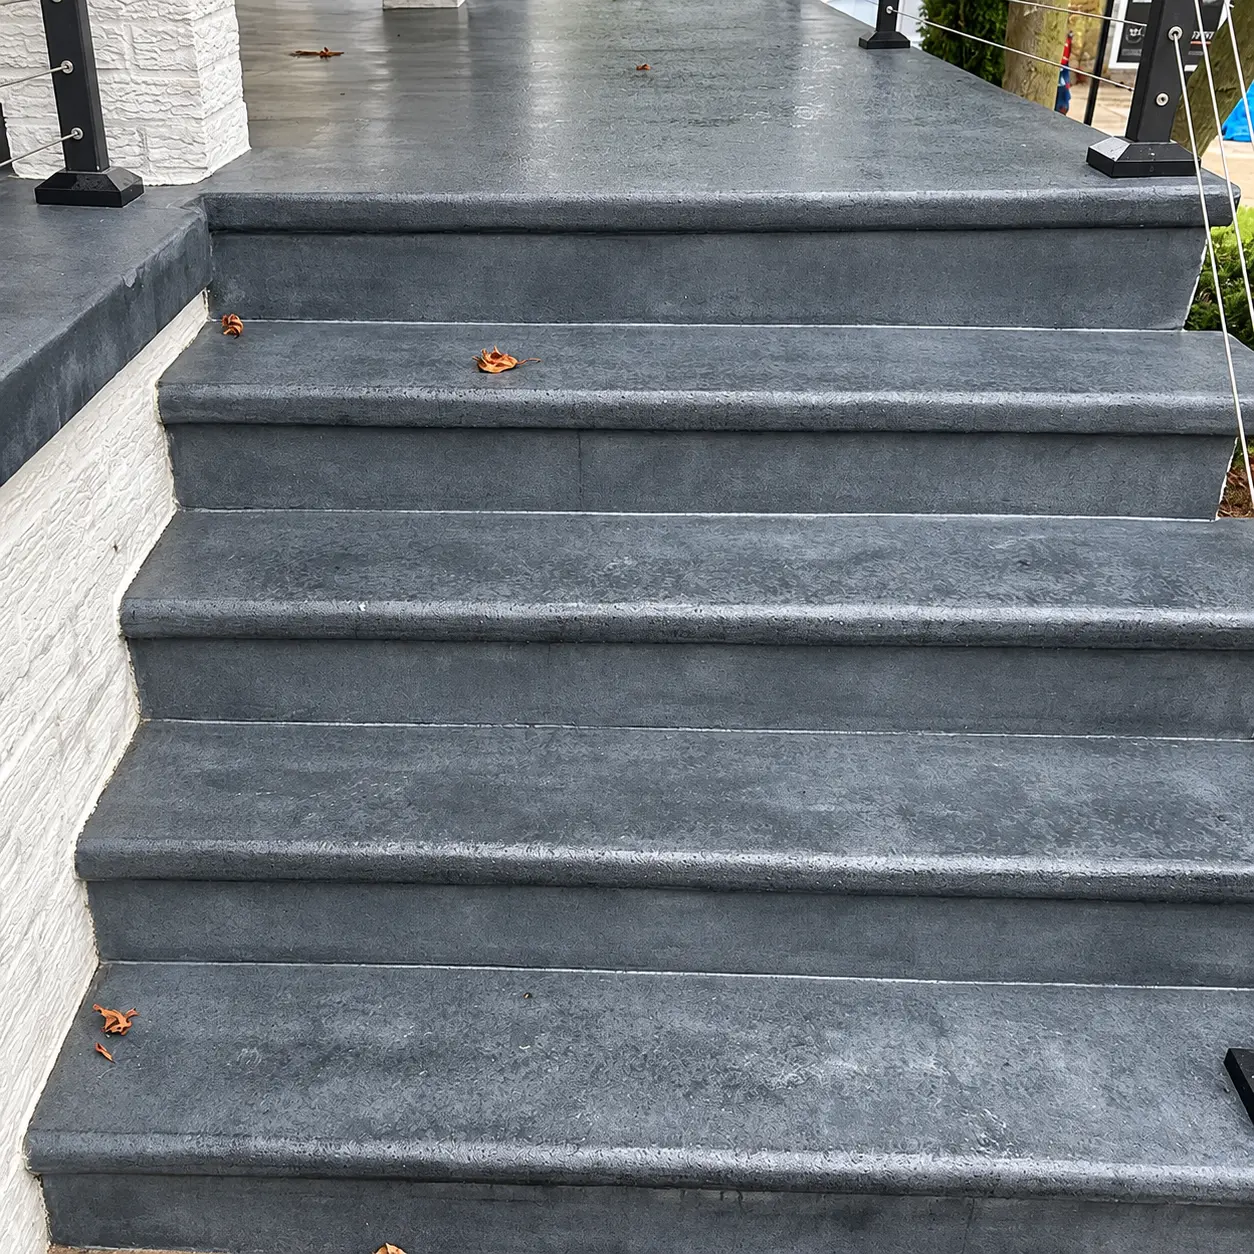
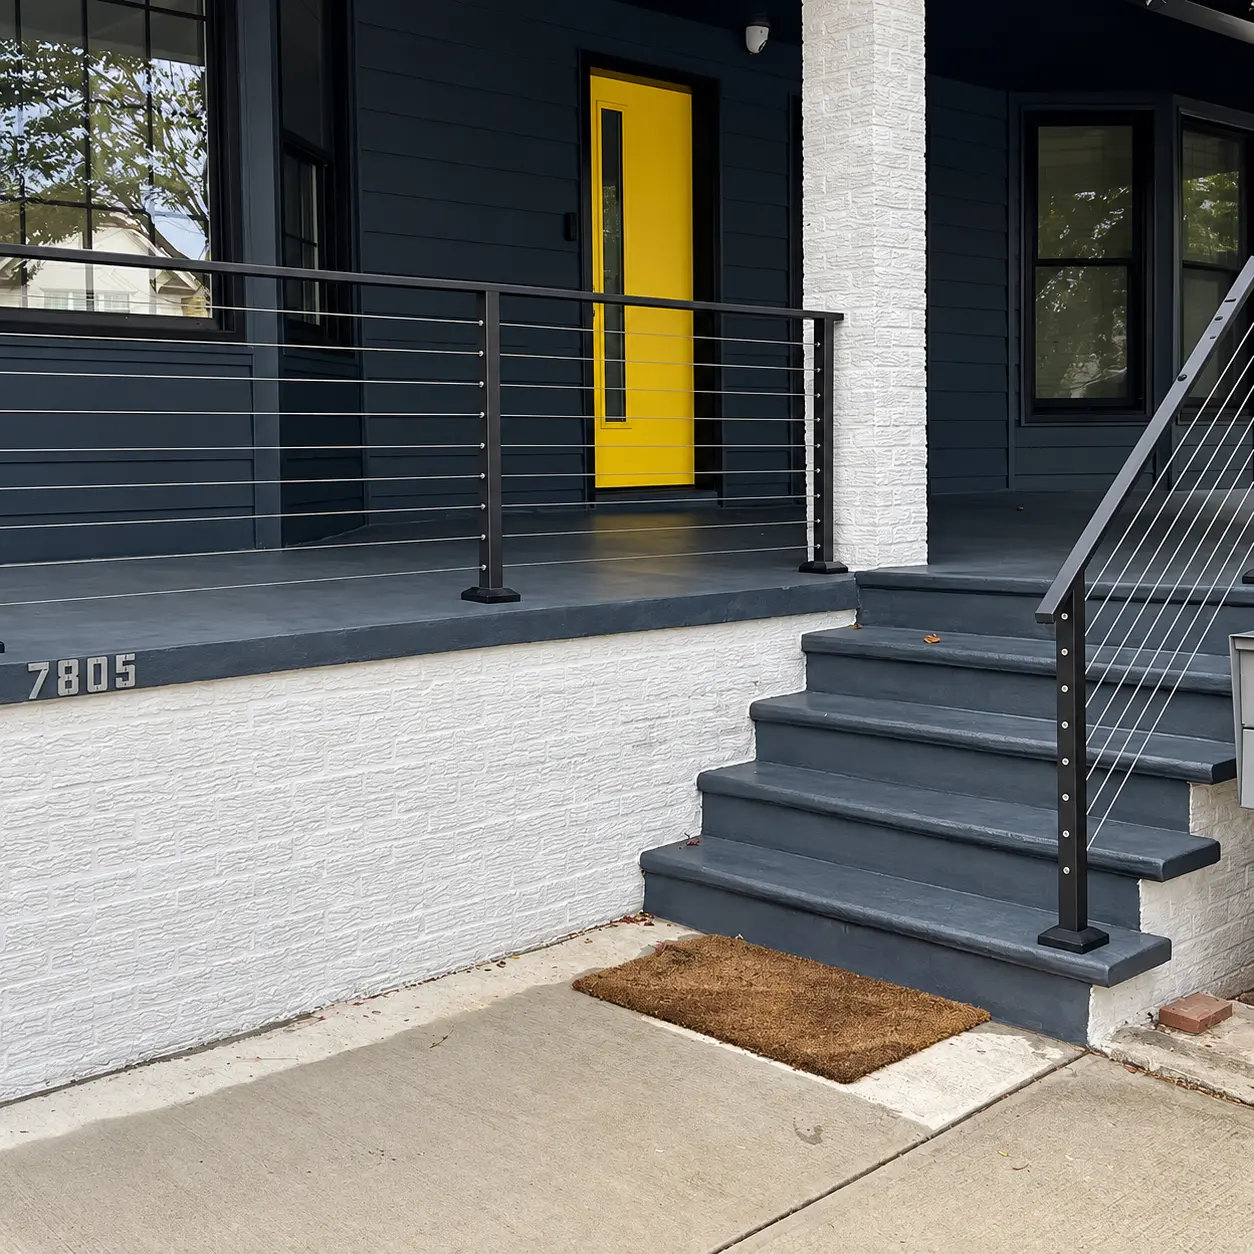
Brooklyn, New York — Private residence · Porch and exterior staircases · installed by Vestal

A weathered porch and two exterior staircases resurfaced in resin-based microtopping, over fully prepared substrate. Specified for a New York winter: UV-stable, freeze-thaw resistant and crack-resistant, finished with the anti-slip high-performance polyurethane sealer. Granite and resin rather than cement is what lets it take the freeze cycle — the same system used for patio resurfacing and other high-traffic outdoor areas.

Drag to compare

Before Before
After After
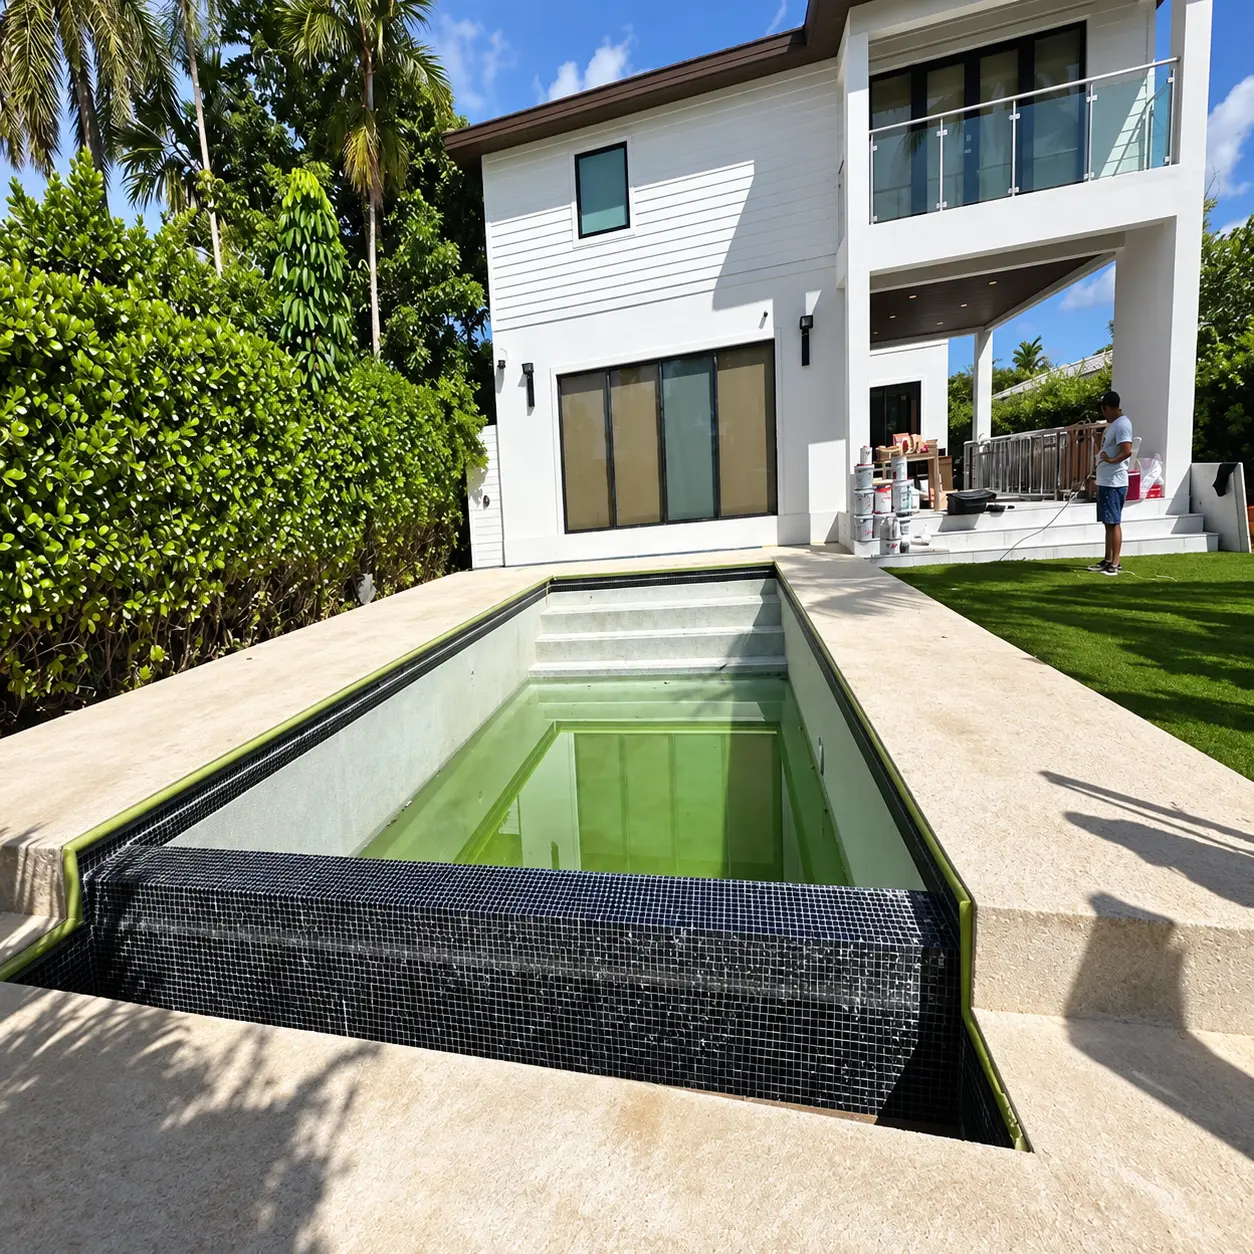
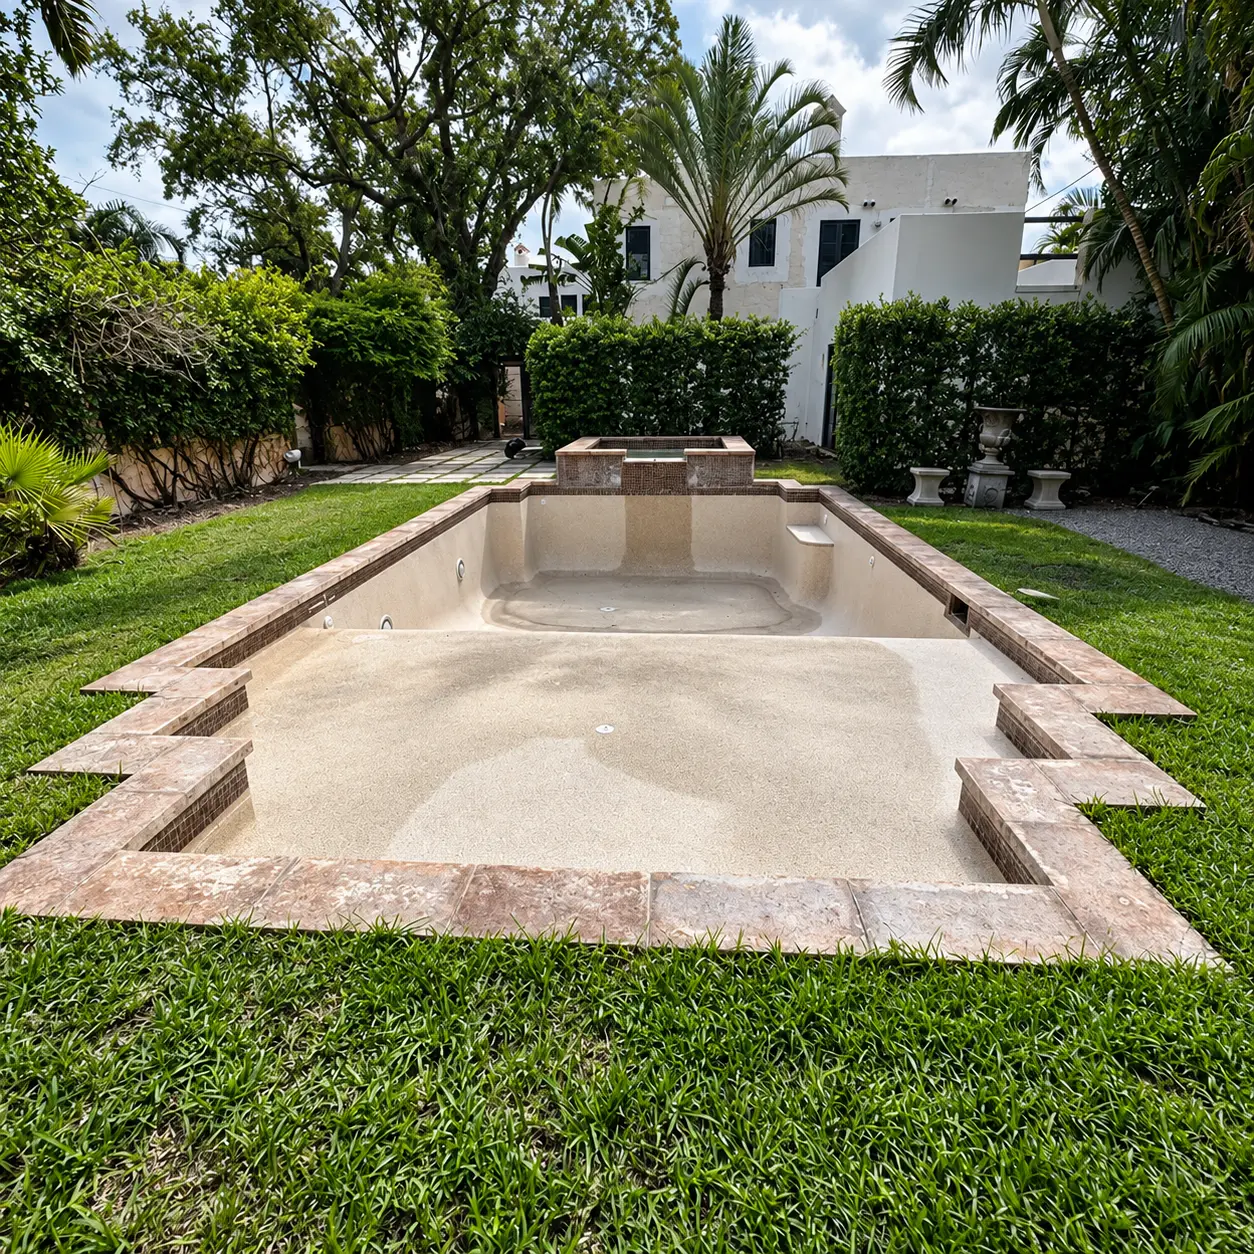
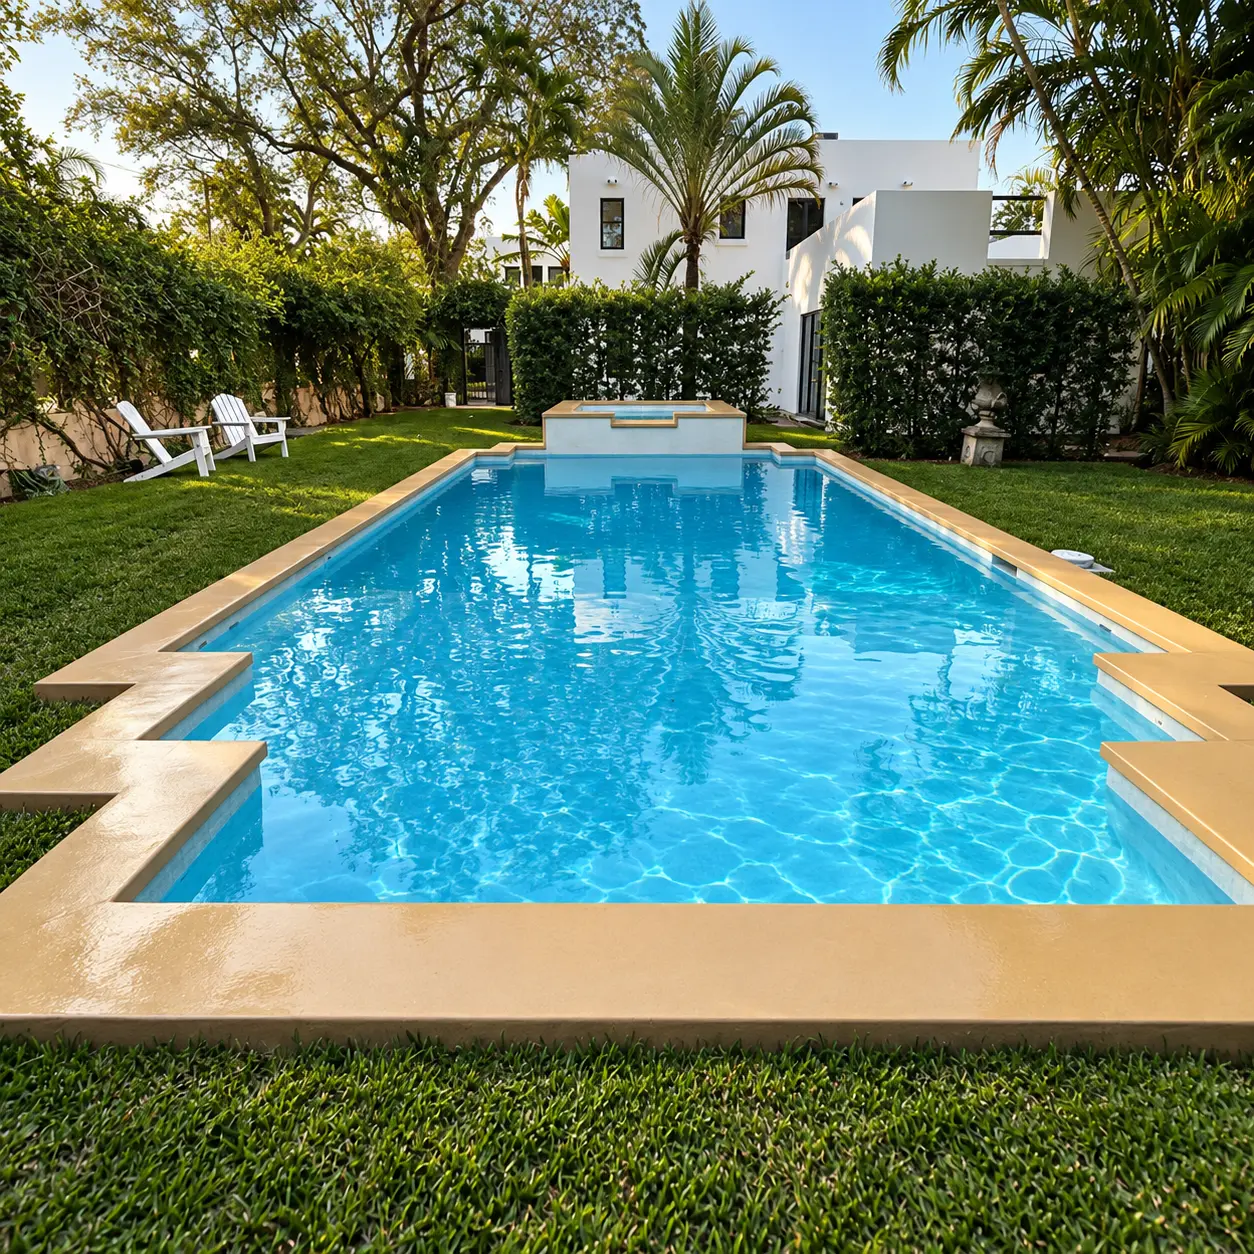
Normandy Shores, Miami — Private residence · Pool deck remodel

Pool deck resurfacing over the existing cement board, jointless from edge to edge. With no grout lines there is nothing to scrub — a durable, low-maintenance deck that cleans in one pass.

Drag to compare

Before Before
After After
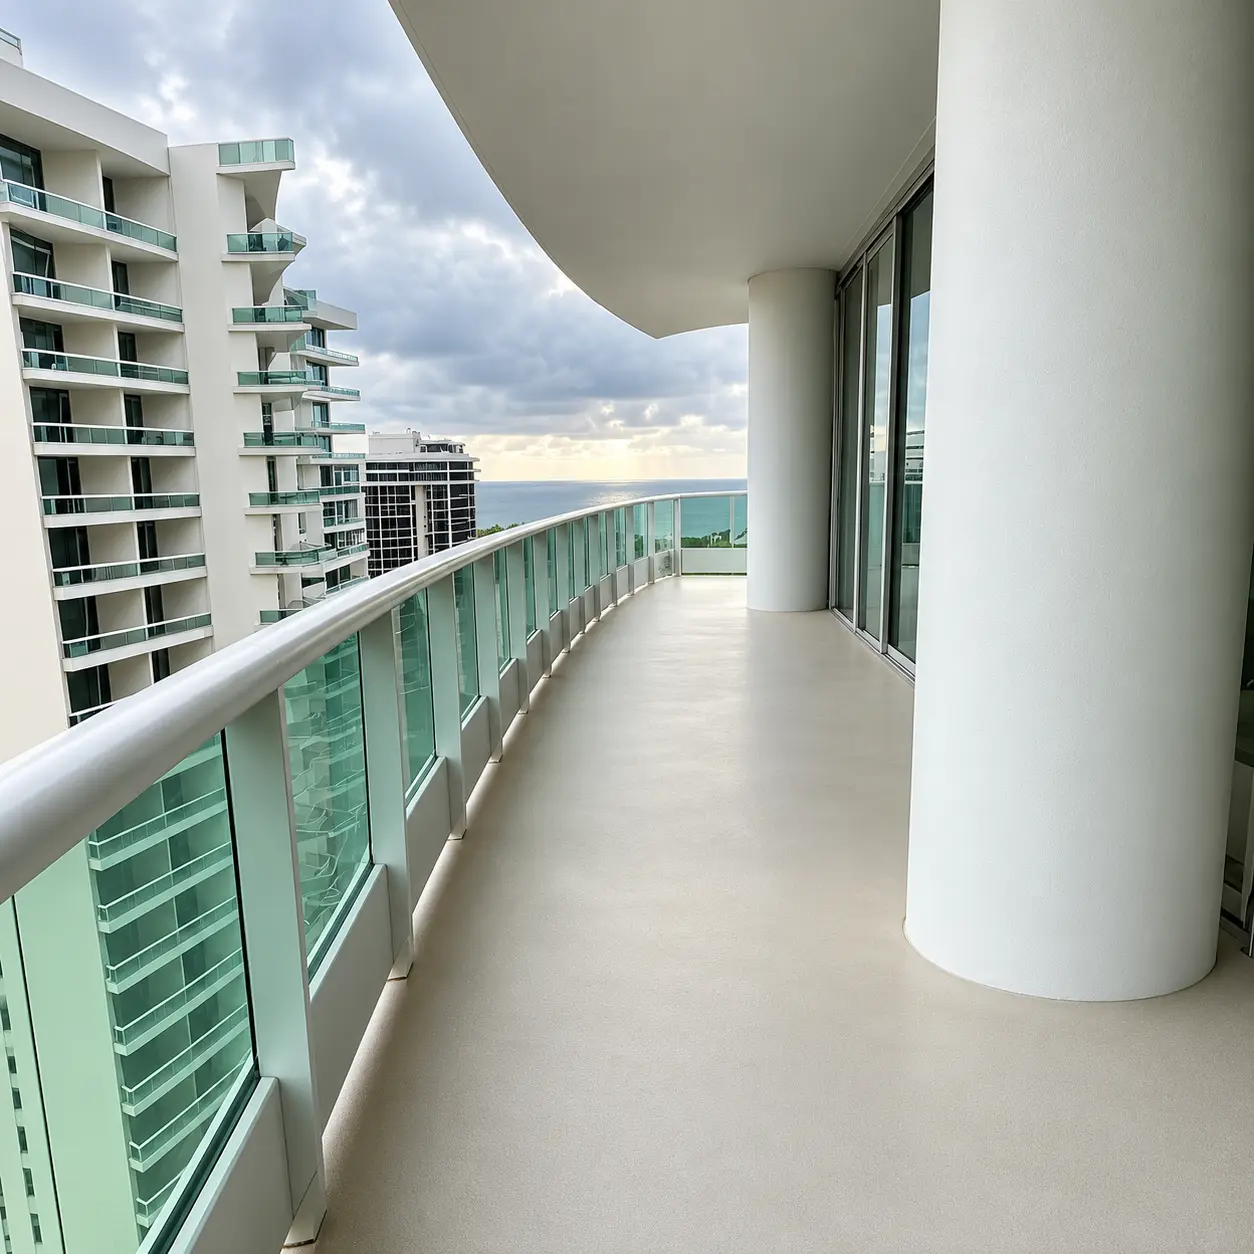
Miami Beach — The Bath Club Residences · Balcony remodel

A condo balcony remodel in TERRAZZO GraniTech Medium over dated tile — balcony waterproofing and finish in one pass. No demolition meant no permit, no glass at risk and no waste hauling, and the jointless result replaced a busy, worn surface with a single quiet plane.

Drag to compare

Before Before
After After
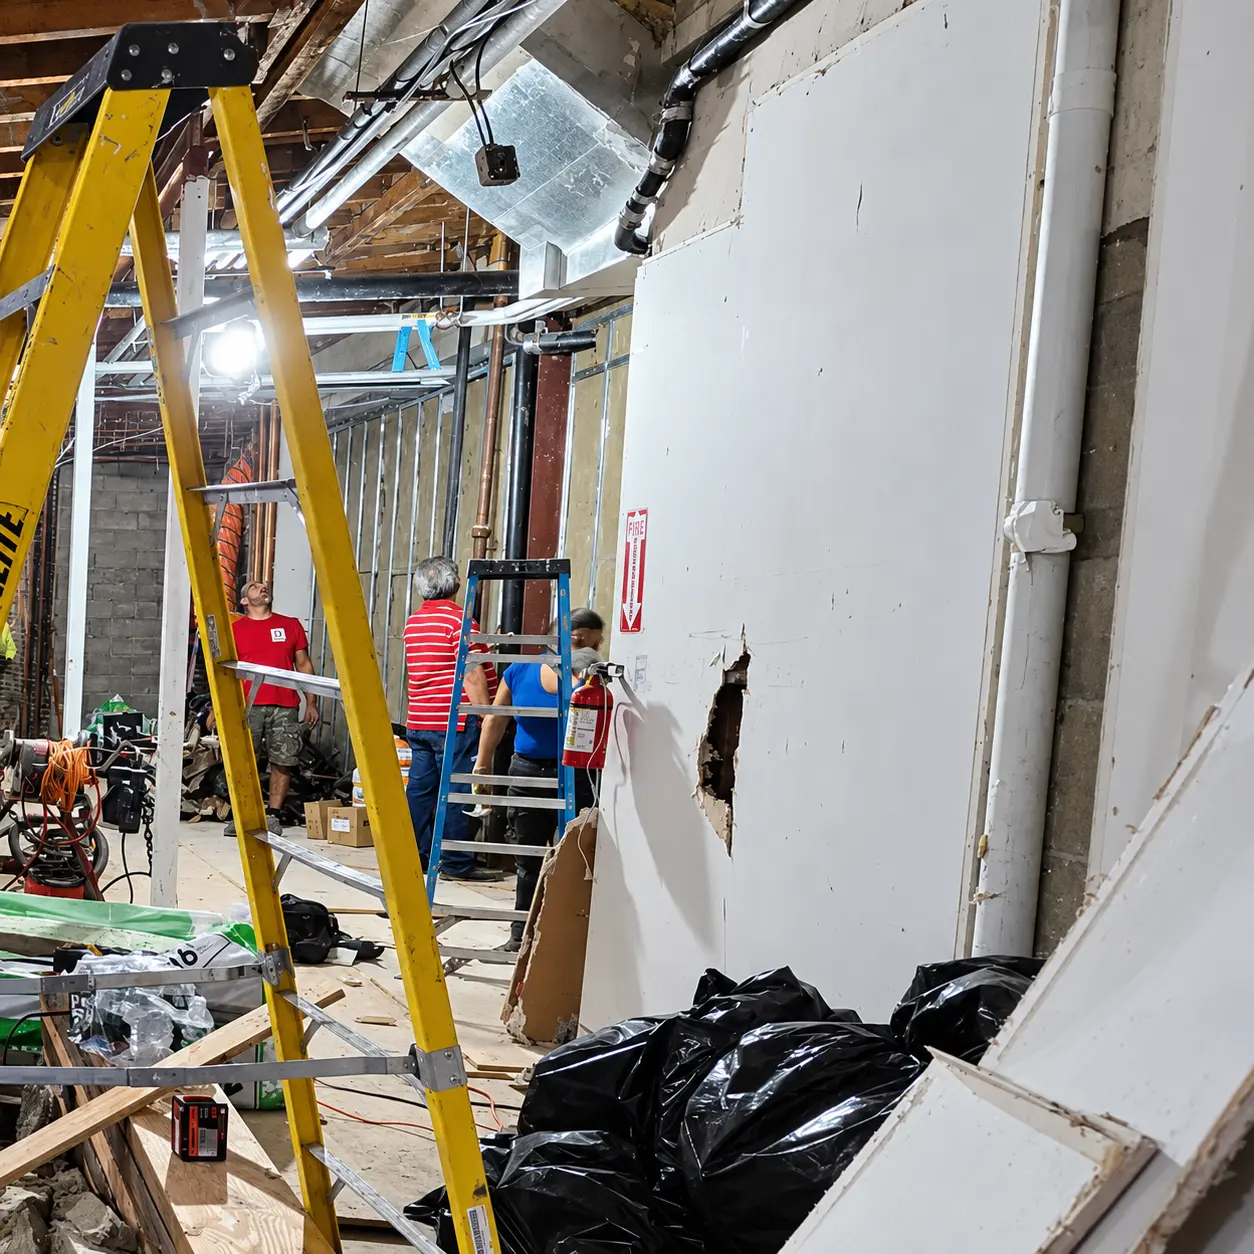
Upper East Side, New York — Mia’s Brooklyn Bakery · Commercial · Exterior facade and interior

A commercial fit-out at 1573 3rd Avenue: 2,000+ sq ft finished inside and out. TERRAZZO GraniTech Medium on the exterior facade, MicroTerrazzo 600Q across the interior walls, ceilings and bathrooms — one material from storefront to back wall. The interior walls and ceilings went on over drywall, the bathrooms over the tile that was already there — the same system across two substrates in one commercial remodel.

Drag to compare

Before Before
After After
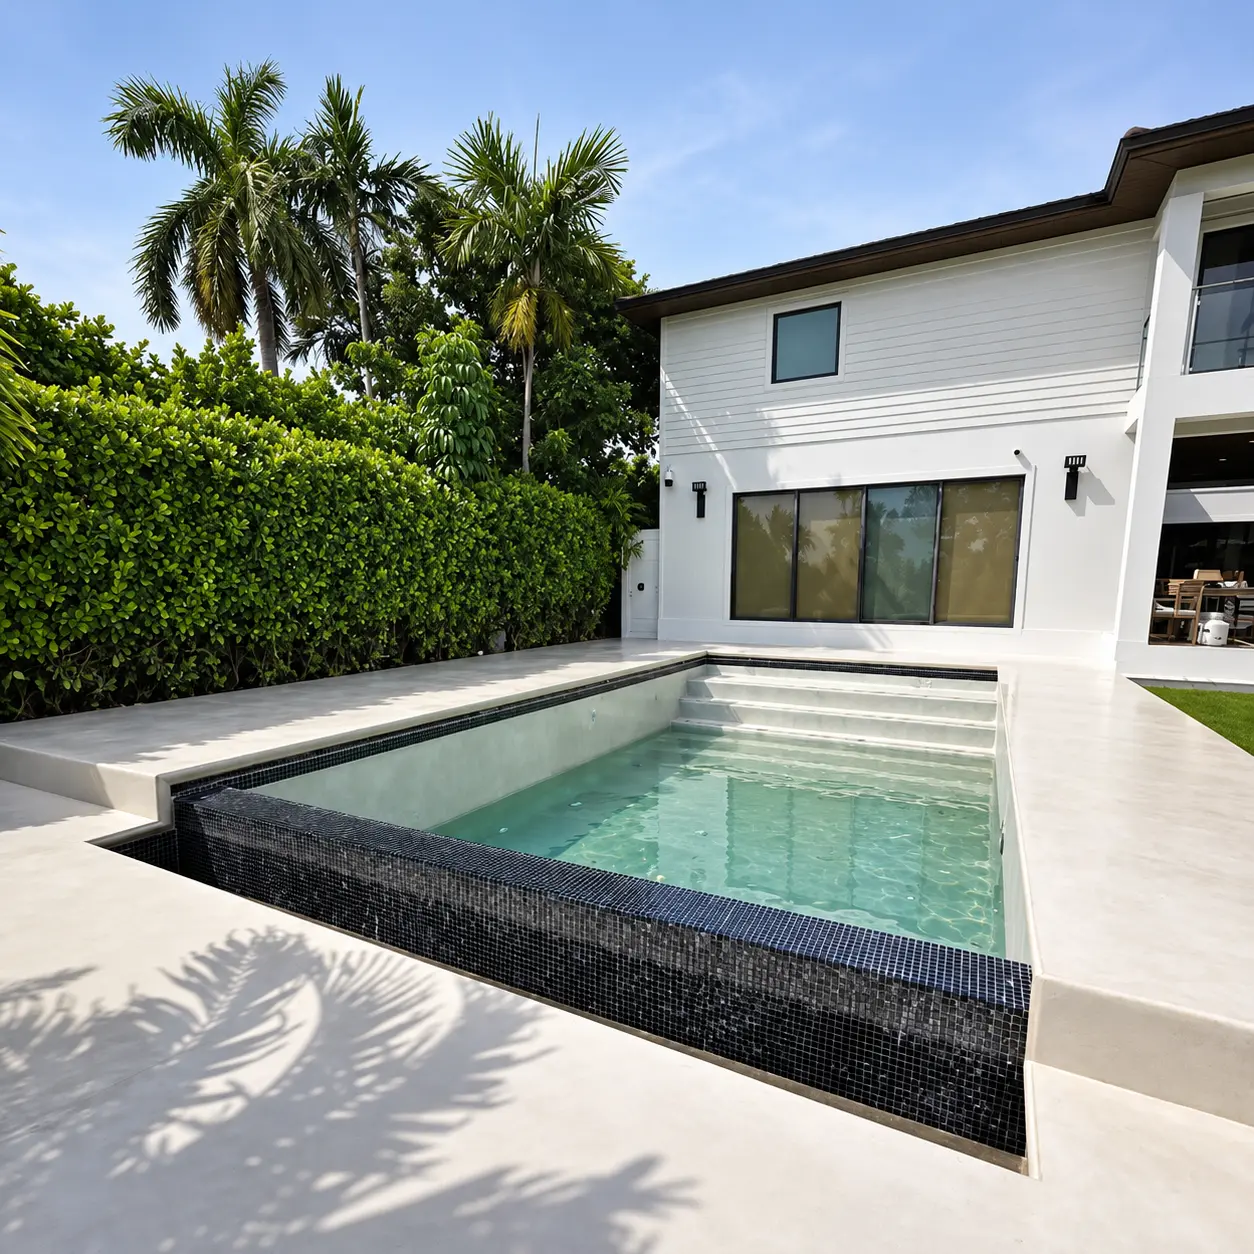
Coconut Grove, Miami — Private residence · Pool facade and coping remodel

Pool facade and coping resurfacing at a Coconut Grove villa. The aged stone was ground and polished back into a properly prepared, code-compliant substrate before our waterproof decorative finish went on — a restoration rather than a replacement, on a facade that had weathered badly.

Drag to compare

Remodeling over existing tile — the questions we get

Yes. The tile stops being the thing to remove and becomes the surface underneath. The joints are flushed level first, with TERRAZZO GraniTech Fine or a flexible thinset, and the face is skimmed flat. A quartz primer and fiberglass mesh go down over it, then two to three coats of the material, sanded between coats, and polyurethane sealers on top — about 1/8 inch, complete. The condition is that what is underneath is sound: the tile bonded and not hollow-sounding, and the cement board and waterproofing membrane beneath it code-compliant and intact. Loose tile or a failed membrane has to be dealt with first, because the system is a decorative finish and not a leveling compound or a substitute for waterproofing that has already failed.

That is the method. The tile stays where it is and becomes the surface underneath, and the new finish is troweled over the top at about 1/8 inch. No walls opened, no floor lifted, no dumpster on the drive. What normally makes a bathroom remodel loud, dusty and long is the demolition, and it never happens.

You can, and it is the most common way this goes wrong. Tile paint and epoxy kits sit a few thousandths of an inch on top of the glaze — they peel at the edges, they yellow, they cannot survive standing water, and every grout line still reads through because nothing filled it. The result is a bathroom that reads as painted. This is a 1/8 inch mineral surface rather than a coating: the joints are filled, and the material is the finish rather than a film over it.

No. A gut remodel takes a bathroom back to the studs — tile out, substrate out, waterproofing rebuilt, fixtures pulled and reset, and a permit in most jurisdictions. This is the opposite: everything sound stays, and only the surface changes. That is where the saving comes from. A gut remodel is the right call when the plumbing needs moving or something behind the wall has failed — if that is your situation, this is not your answer, and we would rather say so before you order.

No, and the difference is what fails. Refinishing and reglazing spray an epoxy or urethane coating a few thousandths of an inch thick over the existing glaze — it chips at the edges, yellows, and the grout lines stay visible underneath because nothing filled them. TERRAZZO GraniTech is a 1/8 inch mineral system of granite and acrylic resin, troweled on. The grout lines disappear because they are filled, and the surface is the material rather than a paint film over it.

It is not. Microcement is cement-based, and cement is where the familiar problems come from: shrinkage cracking as it cures, efflorescence, and color shift between the wet trowel and the dry wall. TERRAZZO GraniTech is granite and acrylic resin, entirely cement-free, and pH-compatible with its own sealers — which is why the sealer does not peel or break down against an alkaline body. It covers the same applications and delivers the same seamless look, without the cement.

Three to five days of work for shower walls, six to eight for floors, then 48 hours of cure time after the final coat of sealer. That is the whole schedule — days, not the three to six weeks a tile replacement takes once demolition, waterproofing, setting, grouting and curing have each been waited out. There is no dust phase at any point in the schedule.

There is no structural change, no plumbing relocation and no waterproofing rebuild, so in most jurisdictions this is treated as a finish rather than a renovation and does not enter the permitting queue. Requirements vary by city and by building, and condominium boards have their own rules — confirm locally before you schedule.

Roughly half to 80% less than a tile-replacement remodel, depending on the job. That remodel is seven separate line items — demolition, disposal, waterproofing, substrate repair, tile and setting, plumbing, detailing. Resurfacing over the same tile is one. Larger areas save more, because waterproofing is a heavier share of the cost the bigger the job gets. Dollar figures move with your local labor rate; the percentage does not.

The system is waterproof prior to sealing and is rated for showers and wet areas — but the assembly underneath it is what keeps water out of the building, and that does not change. It goes over a code-compliant cement board and waterproofing membrane, skimmed flat: over existing tile that assembly is already in place and the joints are flushed first; in new construction it is built before we arrive. Quartz primer and fiberglass mesh, two to three coats sanded between, polyurethane sealer on top. It stands up to the surfactants in modern shampoos and cleaners, and needs no scheduled resealing.

They go. Over existing tile the joints are flushed level — with TERRAZZO GraniTech Fine or a flexible thinset — and the face is skimmed before the mesh and the finish coats, so the surface reads as one continuous plane. Any divider lines in the finished floor or wall are the ones you chose to draw, not the ones the old tile left behind.

Send us the space as it stands.

Photographs are enough. We will tell you whether it is a candidate, what the surface would cost for that square footage, and who near you is certified to apply it.