🎯Limited Seats: 3-Day Hands-On Microtopping Training • The Wynwood Building, Miami • Apr 24 – Apr 26
Lime Plaster Problems: Common Issues, Causes & Long-Term Durability

Did you know that archaeologists have found intact lime-based wall finishes in buildings over 9,000 years old? This shows how long-lasting one of our oldest building materials is. The ancient Egyptians, Greeks, and Romans used it to protect and decorate their key buildings.
Today, lime plaster is still valued for its special qualities. In old buildings, it lets walls breathe and creates lasting, beautiful surfaces. With the right care, these surfaces can last for many years.
But, lime plaster faces challenges too. Things like the weather, how it’s applied, and modern materials can cause it to deteriorate. Knowing these issues is key for keeping historic buildings in good shape or using traditional materials in new projects.
This guide covers the usual problems people face, why they happen, and how to fix them. It helps keep your surfaces looking great and working well for years.
Key Takeaways
- Lime-based wall finishes have been used for over 9,000 years due to their exceptional durability
- Traditional plaster allows walls to “breathe,” making it ideal for historic buildings
- Common issues stem from environmental factors, improper application, and material incompatibility
- Early identification of problems prevents more extensive damage
- Proper maintenance significantly extends the lifespan of traditional finishes
- Modern substitutes often lack the beneficial properties of authentic materials
- Restoration using traditional methods preserves both appearance and functionality
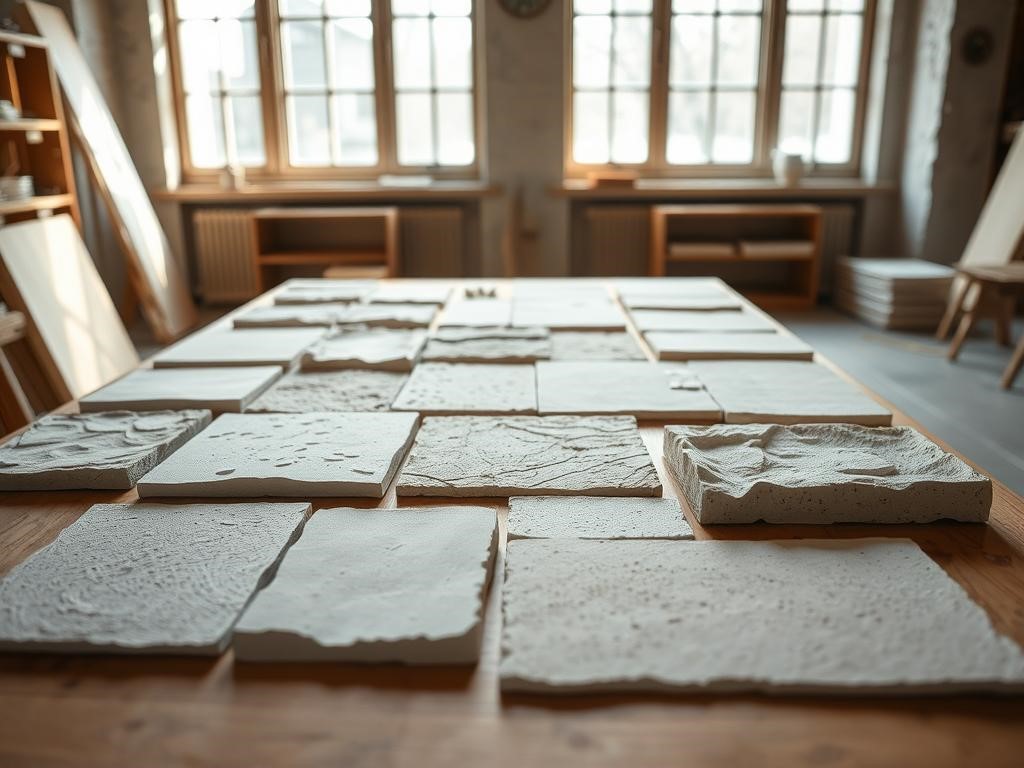
Types of Lime Plaster and Their Characteristics
Lime plaster comes in different types, each with its own special qualities. These qualities are important for restoring old buildings or starting new ones with traditional materials. The type of lime plaster you choose affects how you apply it and how well it lasts.
Non-Hydraulic Lime Plaster
Non-hydraulic lime plaster, also called air lime, is made from pure limestone. It hardens by absorbing carbon dioxide from the air. This slow process makes it very breathable and flexible.
This plaster takes up to 12 months to fully harden. Its slow hardening lets it move with the building, reducing cracking. But, it doesn’t do well in damp places where it can’t carbonate properly.
It’s great for fixing old buildings because it’s soft and flexible. It works well with traditional materials that expand and contract. It protects fragile surfaces and lets the building “breathe.”
Hydraulic Lime Plaster
Hydraulic lime plaster sets faster because it has natural clay or additives. This makes it better for damp places where non-hydraulic lime struggles. It’s good for cellars, bathrooms, and outside walls.
It hardens much quicker than non-hydraulic lime, usually in about 90 days. This makes it easier to use in modern projects where time is a factor.
Hydraulic lime plasters vary in strength, from NHL 2 to NHL 5. The higher the number, the stronger and less flexible it is. This helps builders choose the right one for their needs.
Lime Putty and Fiber-Reinforced Variations
Lime putty is matured non-hydraulic lime that’s been aged underwater. It becomes creamy and easy to work with. The longer it ages, the better it gets, with some projects using it for years.
Fiber-reinforced lime plaster adds strength and reduces cracking. Traditionally, animal hair was used, but now coir, hemp, or other fibers are used too. This is important for ceilings and areas that move a lot.
Adding fibers helps the plaster handle stress better. It prevents big failures even when small cracks happen. The type and amount of fiber depend on the project.
Common Lime Plaster Problems and Their Root Causes
Lime plaster has been used for centuries in historic buildings. It’s known for being breathable and flexible. But, it can face problems that need to be fixed. Knowing these issues helps keep old buildings in good shape.
Problems with lime plaster come from many sources. This includes the environment, how it’s applied, and the materials used. Finding the real cause of a problem is key to fixing it right.
Cracking and Separation Issues
Cracks in lime plaster are common. Hairline cracks are usually okay. But big cracks mean there’s a bigger issue.
Cracks can happen if the plaster mix is wrong or if the wall isn’t ready. Too much lime in the mix causes it to shrink too much. Applying plaster to a dry wall also leads to cracks.
Old buildings settle, causing plaster to crack. Lime plaster is flexible, but it can’t handle too much movement.
Cracks can show different problems:
Crack Type | Appearance | Common Cause | Severity Level |
Hairline cracks | Very fine, barely visible | Normal curing process | Low – typically cosmetic |
Map cracking | Interconnected pattern resembling a map | Excessive shrinkage during drying | Moderate – may indicate mix problems |
Linear cracks | Straight lines, often following joints | Structural movement or substrate issues | Moderate to high – may indicate structural problems |
Deep cracks | Penetrating multiple layers | Significant building movement or substrate failure | High – requires thorough investigation |
Damp and Moisture Damage
Moisture is a big problem for lime plaster. It can make the plaster look bad and feel soft. Damp problems show up as discoloration or softening.
Moisture can come from many places. Leaks from roofs or gutters, rising damp, and condensation can all harm lime plaster. Traditional lime plaster is meant to breathe, but modern materials can block this.
In solid walls, lime plaster helps manage moisture. But if moisture can’t escape, it can damage the plaster. This is why using breathable materials is important.
Signs of moisture damage include:
- Brown or yellow staining
- Green or black mold growth
- Soft, crumbly plaster texture
- Salt crystallization (efflorescence) on the surface
- Bubbling or blistering of surface finishes
Adhesion Failures and Detachment
Adhesion failure is a serious problem. It happens when the plaster separates from the wall. This is common in ceilings, where gravity pulls the plaster away.
In lath and plaster systems, the plaster gets squeezed between laths. But over time, these keys can break. If the laths rot, they can’t hold the plaster.
Adhesion failures also happen when the plaster is applied wrong. Smooth surfaces or surfaces with dust or grease don’t hold the plaster well.
To find detachment problems, tap the plaster gently. Areas where the plaster has separated will sound hollow.
Ceiling plaster is more likely to detach. As the ceiling timbers move or the laths rot, the plaster can fail. Sometimes, the whole ceiling needs to be replaced.
Where lime plaster meets other materials, like wood or metal, the bond can be weak. These areas need extra care to prevent separation.
Identifying and Addressing Damp Issues in Lime Plastered Walls
Understanding how moisture affects lime plaster is key to keeping old buildings in good shape. Lime plaster handles moisture better than modern materials but can still face issues. It’s important for owners of historic homes to spot moisture problems early to avoid serious damage.
Signs of Moisture Damage in Traditional Lime Finishes
Lime plaster shows signs of moisture differently than modern materials. Discoloration and staining are early signs, appearing as darker patches. These stains can grow or shrink with the weather.
Salt efflorescence, or white crystals, shows water is moving through the plaster. Powdering or friable plaster is another sign, where the plaster feels soft and crumbly.
Musty smells or mold growth, often in corners, are serious signs. Timber in damp walls may rot or decay. These problems need quick action to avoid damage.
Common Causes of Dampness in Older Buildings
Rising damp happens when ground moisture moves up through walls. Without damp-proof courses, walls near the ground can be affected. Look for a horizontal tide mark and deteriorating plaster below.
Penetrating damp comes from water entering through the building. This can be due to bad pointing, cracked render, or damaged flashings. It shows as patches that get worse in the rain.
Modern living can cause condensation problems in old buildings. Cooking, showering, and drying clothes indoors add water vapor. Older buildings were not designed for today’s heating and ventilation, leading to moisture issues.
How Lime Plaster Manages Moisture Compared to Modern Materials
Lime plaster is more breathable than modern materials. It lets moisture escape and evaporate, acting as a moisture buffer. This helps manage humidity better than modern plasters.
Modern gypsum and cement-based plasters trap moisture. This can lead to damp conditions and material failure. Using these on old buildings often causes damp problems.
The carbonation process hardens lime plaster over time. This improves its moisture management. With proper care, lime plaster gets better with age.
Property | Traditional Lime Plaster | Modern Gypsum Plaster | Cement-Based Render |
Breathability | High – allows moisture to pass through | Low – creates vapor barrier | Very low – blocks moisture movement |
Response to Dampness | Absorbs and releases moisture | Softens and deteriorates when wet | Traps moisture within structure |
Visual Signs of Moisture | Discoloration, salt efflorescence | Bubbling, blistering, detachment | Cracking, spalling, mold growth |
Recovery After Wetting | Self-heals through carbonation | Permanent damage requiring replacement | Remains damp, causing ongoing problems |
To fix damp issues in lime plastered walls, find and fix the moisture source first. Make sure the wall can breathe. Using waterproof coatings or paints on lime plaster traps moisture and makes problems worse. Keeping the wall breathable lets lime plaster manage moisture well.
Application Mistakes That Lead to Serious Lime Plaster Failures
Even with top-quality lime plaster materials, mistakes in application can cause big problems. Lime plaster needs special techniques that are different from modern methods. Knowing these differences is key to getting durable, lasting results that respect traditional building ways.
Improper Substrate Preparation
Good lime plastering starts with the right substrate prep. Many failures come from not preparing the surface well before plastering.
For masonry surfaces, cleaning is crucial to remove dust and contaminants. The surface should be damp but not too wet to prevent moisture loss. Applying lime plaster to dry, porous masonry can weaken the bond.
With timber lath substrates, spacing between laths is important. Too tight spacing can prevent proper keys. Wooden laths should be pre-soaked to avoid moisture loss from the plaster mix.
Securing laths properly is often overlooked. Loose laths can cause plaster to crack and fail. Laths must be firmly attached to prevent movement during curing.
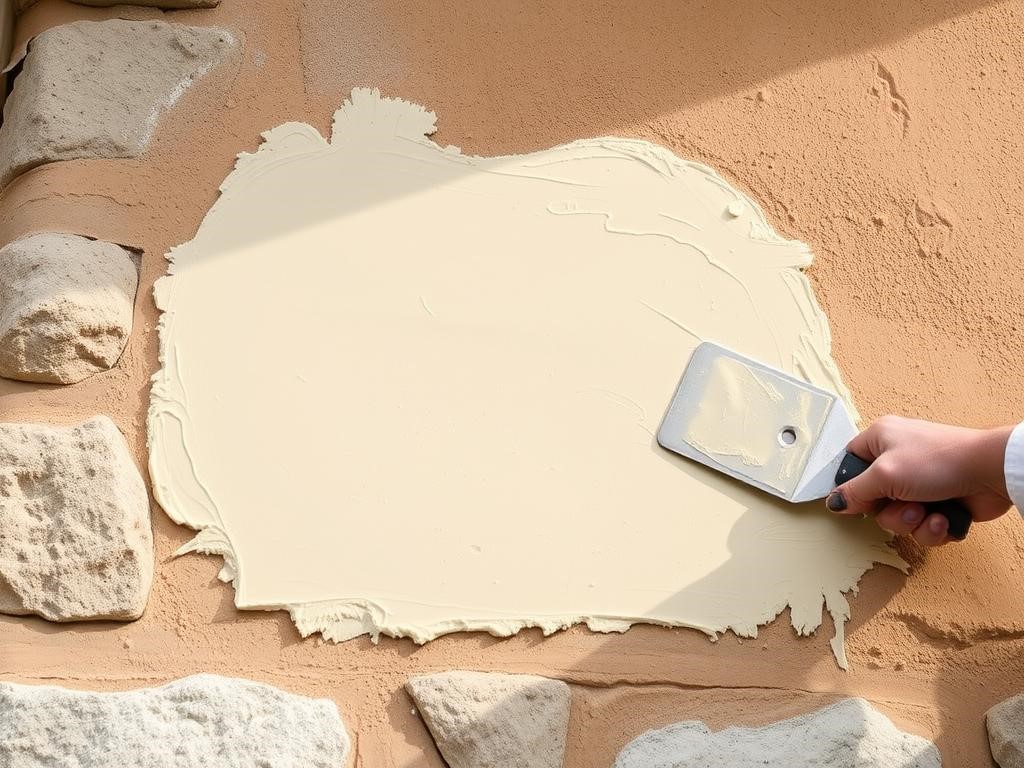
Incorrect Mixing and Application Techniques
Mixing lime plaster right is crucial. Wrong ratios can lead to weak plaster or shrinkage.
Applying too thick coats is a common error. Lime plaster should be applied in thin layers. A single coat should not exceed 15mm. Unlike modern plasters, lime is heavier and dries slower, making thick coats prone to problems.
Application Aspect | Proper Technique | Common Mistake | Consequence |
Coat Thickness | Maximum 15mm per coat | Applying thick coats | Slumping, cracking, poor adhesion |
Coat System | Three-coat system (scratch, float, finish) | Skipping coats or rushing between applications | Weak structure, poor durability |
Mixing | Proper lime-to-aggregate ratio, thorough mixing | Inconsistent mixing, too much water | Weak plaster, excessive shrinkage |
Surface Wetting | Appropriate dampening before application | Over-wetting or under-wetting | Poor adhesion, uneven drying |
The traditional three-coat system is used for a reason. Each coat has a specific role in creating a strong, breathable wall finish. Shortcuts or rushing can lead to problems.
Using modern tools and techniques on lime plaster is a mistake. Lime plaster needs special troweling and pressure. Many applicators don’t get this right.
Inadequate Curing Time and Conditions
Rushing the curing process is a common mistake. Lime plaster takes longer to cure than modern plasters. This longer time is a key feature of lime.
Each coat must dry fully before the next is applied. A general rule is to wait one day for every millimeter of thickness. So, a 10mm coat would dry for about 10 days. Even in good conditions, this should be at least 4-5 days.
Keeping lime plaster damp during curing is often missed. This step is vital for carbonation, where lime absorbs carbon dioxide. Without proper cherishing, the plaster may dry too fast, leading to weakness.
Protecting lime plaster from bad weather is also key. Sun, wind, or cold can harm curing. Lime plaster needs steady, moderate conditions to cure well. Extreme weather can weaken its strength and durability, making proper conditions essential for long-term performance.
Lime plastering requires patience, unlike modern construction. Many failures come from rushing or using wrong techniques. Understanding and following traditional methods is essential for lasting results.
Compatibility Issues with Modern Materials and Methods
Using modern building materials with traditional lime plaster can cause problems. These issues come from how different materials handle moisture and age. When these systems don’t match, historic buildings often suffer.
Problems with Non-Breathable Paints and Sealants
Applying non-breathable finishes to lime-plastered walls is a common mistake. Lime plaster can be painted only when it is fully cured. Choosing the right coating is key.
Standard emulsion paints and modern sealants trap moisture in the plaster. This trapped moisture leads to several problems:
- Blistering and peeling of the paint surface
- Deterioration of the plaster beneath
- Salt crystallization damage
- Potential rot in timber elements behind the plaster
Using the wrong finishes on lime plaster stops it from managing moisture. This makes the wall damp, speeding up decay.
Fortunately, there are better options. Breathable paint options that work well with lime plaster include:
Finish Type | Breathability | Durability | Appearance | Application Notes |
Limewash | Excellent | Moderate (requires maintenance) | Soft, matte finish with subtle color variations | Apply to damp plaster; multiple thin coats recommended |
Clay Paint | Very Good | Good | Rich, textured matte finish | Apply to fully cured plaster; easy to touch up |
Mineral Silicate Paint | Good | Excellent | Durable matte finish | Requires specific primer; chemically bonds with substrate |
Casein Paint | Good | Moderate | Traditional, subtle sheen | Natural milk-based paint; historically accurate |
Removing the wrong coatings from lime plaster needs care. Steam removal, gentle scraping, or specialized poultices can restore breathability without harming the plaster.
Cement and Gypsum Repairs to Traditional Lime Plaster
Using modern materials like cement or gypsum for repairs to lime plaster causes problems. These harder, less flexible materials create stress points where they meet the traditional lime plaster.
Cement and gypsum repairs often fail in several ways:
They don’t expand and contract like lime plaster, leading to cracks. They are also less permeable, trapping moisture in the plaster. This can cause several issues.
Introducing soluble salts from modern gypsum and cement products can also harm the plaster. These salts can cause severe damage to the historic material.
The solution is to use like-for-like repairs. Using compatible lime-based materials ensures the wall system works as intended.
Modern Building Techniques That Compromise Lime Plaster Performance
Modern building practices can also harm traditional lime plaster:
Cavity wall insulation in historic buildings can change the thermal dynamics of walls. This can create cold spots where condensation forms, overwhelming lime plaster’s ability to manage dampness.
Vapor barriers and waterproof membranes can be disastrous when added to buildings with lime plaster. They prevent moisture from moving through walls, causing damage to plaster and structural elements.
Modern heating systems can also stress lime plaster. Traditional buildings were designed for slow heating, not the quick changes of modern central heating.
To successfully maintain lime plaster, it’s important to understand and respect its properties. Instead of trying to make it like modern materials, we should adapt to work with lime’s natural characteristics.
When planning renovations or repairs to buildings with lime plaster, it’s wise to consult specialists in historic building materials. They can recommend the right materials and techniques to preserve the appearance and function of traditional lime plaster systems.
A Modern Alternative to Traditional Lime Plaster: Why Terrazzo GraniTech Makes Sense
While lime plaster remains a respected material for heritage buildings, modern projects often need faster, more durable, and versatile solutions—without sacrificing aesthetics or breathability. This is where Terrazzo GraniTech stands out.
GraniTech is a next-generation decorative plaster that addresses many of the traditional problems associated with lime plaster: from cracking and slow curing to moisture retention and adhesion issues. It incorporates a patented memory resin, making it crack-resistant, waterproof, and ideal for wet areas like bathrooms, kitchens, and even pool decks.
Unlike lime, which can fail when applied over incompatible materials, GraniTech can be directly applied over tiles, wood, concrete, or existing finishes. This eliminates the need for demolition, reduces labor time, and significantly lowers project costs.
Beyond performance, GraniTech embraces contemporary design. With finishes like Fine, Medium, and MicroTerrazzo 600Q, it supports a wide range of modern interior styles—minimalist, industrial, or organic.
Here’s how GraniTech compares to lime plaster:
Feature | Traditional Lime Plaster | Terrazzo GraniTech |
Crack Resistance | Moderate (can crack under stress) | High (memory resin prevents cracking) |
Moisture Resistance | Breathable but vulnerable to water | Waterproof and breathable |
Application Surface Compatibility | Limited | Bonds to tile, wood, cement, drywall |
Curing Time | Weeks to months | Fast-drying |
Ideal Use | Historic renovations | Modern interiors & wet areas |
Aesthetic Options | Matte, natural finishes | Terrazzo-style, polished or textured |
If you want the timeless look of plaster with none of the fragility, Terrazzo GraniTech offers the best of both worlds—historic charm with modern resilience.
