Microtopping vs Epoxy: Direct Comparison of Features and Use Cases
This section shows how microtopping and epoxy differ in appearance, tactile qualities, and ideal applications. You’ll see the visual contrasts and practical trade-offs that help you pick the right finish for your space.
Visual and Aesthetic Differences
Microtopping, often called seamless microcement, presents a matte or satin appearance that leans toward minimalist and earthy neutrals. Because it can be troweled onto walls and floors with the same material, it creates a continuous visual plane that makes rooms feel larger and more unified. Understanding what is microtopping helps clarify why so many designers favor its understated elegance for residential projects.
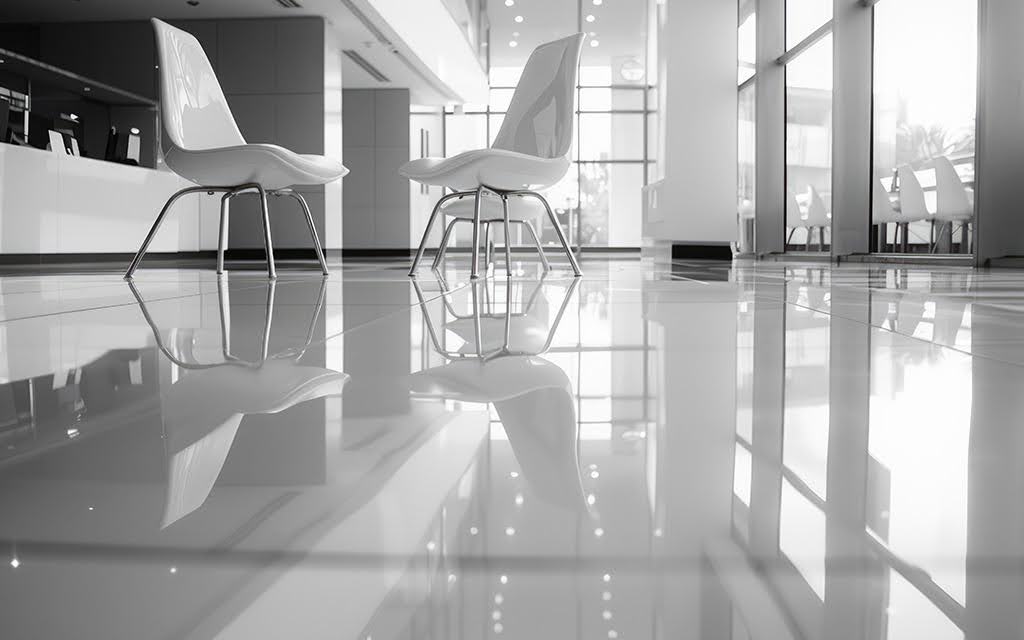
Epoxy delivers a high-gloss sheen that boosts reflectivity and adds visual drama to any space. Decorative and metallic epoxy systems create swirling patterns and mirror-like effects that catch light from multiple angles, turning a plain slab into a showpiece.
Polished concrete falls somewhere between these two extremes, offering a natural stone-like look with a dense, reflective surface earned through mechanical grinding and chemical densifiers. Each option changes how light interacts with a room, influencing perceived space and mood in ways that go beyond simple color choice.
Typical Applications by Space: Residential, Garage, Commercial, Industrial
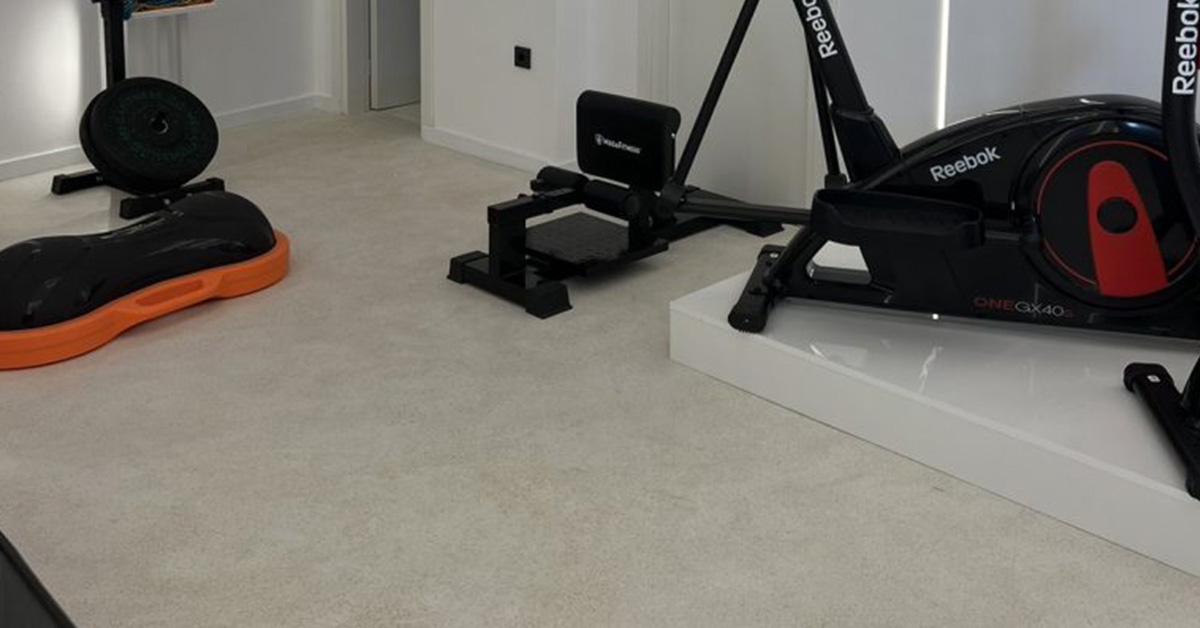
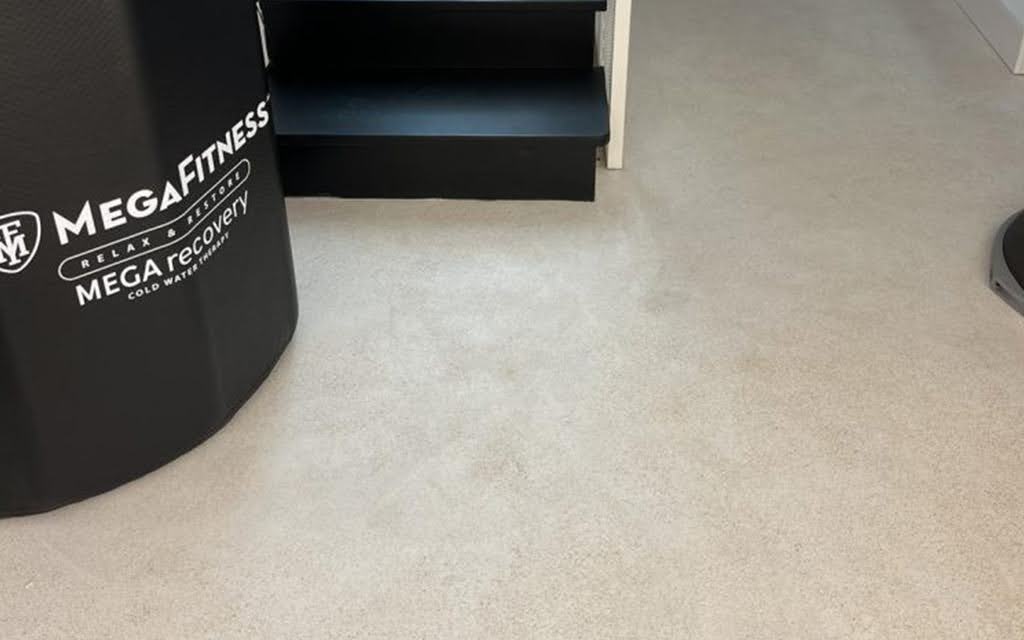
In homes, microtopping has become popular for living rooms, kitchens, and bathrooms because it offers a smooth, warm feel and a seamless appearance that pairs well with contemporary furniture and fixtures. Homeowners exploring microtopping in bathroom installations appreciate the grout-free surface and easy cleaning.
Garage epoxy dominates driveways, basements, and workshop floors where chemical resistance and easy cleanup after automotive spills matter most. Epoxy systems handle oil, brake fluid, and antifreeze without staining, and the hard film resists hot-tire pickup and abrasion from dragged tools.
Commercial spaces like retail shops, hotels, and office lobbies often choose microtopping for a refined, hospitality-grade look that doesn’t scream “industrial.” Epoxy finds its place in warehouses, manufacturing plants, and distribution centers where durability, abrasion resistance, and tolerance for forklift traffic are non-negotiable.
Which Finish Suits Showrooms, Minimalist Interiors, and Warehouses
Showroom flooring can benefit from both systems depending on the brand image you want to project. Metallic epoxy creates stunning visual displays with high reflectivity that draws eyes to product showcases, while a neutral micro topping can fade into the background and let merchandise take center stage.
Minimalist interiors almost always prefer seamless microcement because it maintains a calm, unified aesthetic and avoids the visual clutter of grout lines or abrupt transitions between surfaces. For designers working on residential projects, weighing the microtopping pros and cons against client expectations helps set realistic timelines and budgets.
Warehouse and heavy-duty industrial zones favor epoxy or epoxy-quartz broadcast systems because they tolerate constant abuse from pallet jacks, scissor lifts, and heavy rolling loads without chipping or delaminating.
Cost Comparison: Material, Installation, and Per Square Foot Pricing
When budgeting for a new floor, clear numbers drive better decisions. A detailed cost comparison between epoxy and microtopping reveals how material selection, labor intensity, and regional pricing combine to shape your final invoice, and urban markets typically see higher contractor quotes due to overhead and demand.
In the United States, prices vary by finish complexity and substrate condition. Microtopping materials run $8 to $15 per square foot, and professional installation adds another $5 to $10, bringing the typical range to $13 to $25 per square foot or roughly $130 to $245 per square metre depending on finish layers and any concrete repairs required before application.
Epoxy pricing spans a wider band. Materials cost $3 to $12 per square foot, labor adds $4 to $8, and total installed prices land between $7 and $20 per square foot for standard systems. Premium metallic epoxy can push that figure 20 to 30 percent higher because of the skill required to manipulate pigments and achieve consistent swirl patterns.
Smaller benchmark jobs offer context for these ranges. Basic concrete finishing like broom-swept or lightly troweled surfaces costs $2 to $4 per square foot. Polished concrete, which involves multi-step grinding and densification, runs $5 to $12 per square foot. These comparison points help property owners balance upfront expense against aesthetic payoff and service life.
Surface prep and repairs have a big impact on total cost. Grinding to remove old coatings, shot-blasting to open concrete pores, and patching cracks or spalls can add $1 to $3 per square foot depending on slab condition. Self-leveling underlayments and moisture mitigation layers increase both material and labor time, so detailed contractor quotes should itemize these line items rather than burying them in a lump sum.
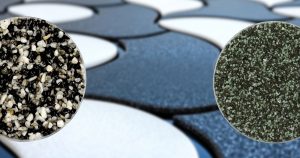
| System | Material Cost (per sq ft) | Installation Cost (per sq ft) | Typical Total (per sq ft) | Typical Total (per m²) |
| Basic epoxy (two-coat) | $3–$6 | $4–$6 | $7–$12 | $75–$129 |
| Premium epoxy (metallic) | $6–$12 | $5–$10 | $15–$25+ | $161–$269+ |
| Microtopping / microcement | $8–$15 | $5–$10 | $13–$25+ | $130–$270+ |
| Polished concrete (comparison) | $2–$5 | $3–$7 | $5–$12 | $54–$129 |
For accurate budgeting, request a line-item contractor quote that breaks down materials, labor, surface prep, and equipment rental. Ask about warranty coverage and recommended reseal intervals, because those factors shape long-term ownership cost and let you compare microtopping and epoxy costs on an apples-to-apples basis.
Durability and Lifespan: Wear, Impact, and Heavy-Traffic Performance
When you’re weighing microtopping against epoxy, understanding how each system holds up under daily use becomes critical. Both can deliver long service lives when installed correctly, but they respond differently to high foot traffic, rolling loads, and impact events.
Expected Lifespans for Microtopping and Epoxy in High-Traffic Areas
Microtopping typically delivers 10 to 20 years in residential and light-commercial settings when owners follow recommended maintenance and reseal schedules. It handles normal foot traffic, wheeled carts, and furniture movement without issue, but shows accelerated wear under constant abrasion or impact from heavy equipment.
Epoxy reaches 20 to 25 years in high-traffic commercial and industrial environments when paired with proper substrate prep and periodic topcoat renewal. Its fully bonded, impermeable film and superior compressive strength help it resist wear from forklifts, pallet jacks, and steady streams of foot traffic in retail or institutional settings.
Resistance to Abrasion, Heavy Loads, and Industrial Wear
Microtopping relies on polymer-modified cement binders that achieve compressive strengths in the 3,000 to 5,000 psi range. That’s adequate for foot traffic, light wheeled loads, and typical residential or hospitality use, and the thinner profile lets it preserve existing floor elevations while still delivering a refined finish.
Epoxy systems, especially industrial-grade formulations, can reach compressive strengths exceeding 20,000 psi once fully cured. This translates to exceptional abrasion resistance and impact tolerance, allowing the floor to withstand forklift steel wheels, dropped pallets, and dragged machinery without cracking or gouging.
When Epoxy is Preferable for Commercial and Industrial Settings
Epoxy stands as the clear choice for commercial kitchens, laboratories, manufacturing floors, and warehouse docks where you need maximum abrasion resistance paired with chemical resistance. Its impermeable surface film repels oils, fuels, acids, and aggressive cleaning agents, reducing both maintenance labor and the risk of substrate damage from spill penetration.
For design-focused, light-use areas like boutique hotel lobbies or residential living spaces, microtopping offers aesthetic warmth and breathability that epoxy can’t match. But when your floor faces heavy rolling loads, frequent impacts, or harsh chemical exposure, epoxy’s superior mechanical properties and sealed barrier make it the more durable and cost-effective long-term solution.
Installation Process and Time: Surface Prep, Layers, and Cure Times
Installation workflows for decorative concrete finishes vary significantly based on system chemistry and site conditions. A well-planned sequence of surface prep steps, primer application, and layering schedules keeps projects on track and prevents costly callbacks.
Microtopping Installation: Step by Step (Typical 3 to 5 Day Timeline)
Day one focuses entirely on surface prep. Technicians use diamond grinders to remove old coatings, open the concrete pores, and repair cracks or spalls with polymer-modified patching compounds. If the slab has significant lippage or damage, those issues get addressed before any micro topping goes down.
Next, a primer or bonding coat gets rolled or sprayed to promote adhesion between the existing concrete and the new cementitious overlay. Installers then trowel on thin layers of micro topping, incorporating integral pigments and working the material to the desired texture. Each layer requires drying time, and crews may sand or lightly burnish between coats to achieve a smooth, uniform plane.
The final step involves applying a penetrating or film-forming sealer that can be specified as matte, satin, or gloss depending on design intent. Cure time depends on ambient humidity, temperature, and square footage, but most residential or light-commercial jobs wrap up in three to five days from start to final cure. Those considering a larger renovation might also compare a bathroom remodel vs renovation to understand scope and timeline differences.
Epoxy Installation Workflow: Typical 1 to 2 Day Turnaround
Epoxy projects begin with aggressive surface prep. Contractors use floor grinders, scarifiers, or shot blasters to achieve a clean, profiled concrete surface that meets the manufacturer’s CSP requirements. This step removes laitance, oil, and contaminants that would compromise bond strength.
Once the slab is prepped and vacuumed, a moisture-mitigating or adhesion primer gets applied to seal the concrete and improve mechanical lock. Crews then roll or squeegee on base epoxy coats, broadcasting decorative flakes or metallic pigments between layers if the design calls for it. A clear urethane or polyaspartic topcoat provides UV stability, abrasion resistance, and a protective barrier against cleaning agents and wear.
Cure time varies by product chemistry and ambient temperature, but most commercial epoxies allow light foot traffic within 24 to 48 hours and full service loads after 72 hours. Professional crews plan the work sequence around cure windows, weather conditions, and client access needs, minimizing site disruptions while preserving warranty coverage and delivering long-term performance.
Performance vs Environment: Chemical Resistance, Moisture, and VOCs
Selecting between microtopping and epoxy often hinges on how each system handles chemical exposure, moisture transmission, and indoor air quality during and after installation. When you’re specifying floors for garages, labs, or commercial kitchens, understanding chemical resistance, vapor permeability, and VOC emissions helps you match the product to the space.
Epoxy excels in environments with frequent spills and aggressive cleaners. It resists acids, oils, solvents, and the hydraulic fluids common in automotive garages and industrial labs. The continuous, impermeable film prevents most stains and protects the underlying concrete from chemical attack, making it a top choice for spaces where harsh fluids or caustic cleaning agents are routine.
Microtopping, by contrast, suits decorative interiors and residential applications where chemical exposure remains mild. It handles oils, grease, and household cleaners without degrading, and its breathable nature allows water vapor to escape from the concrete below, reducing the risk of mould growth or moisture buildup in retrofit scenarios. Many installers value this breathability when working over older slabs or in climates where ground moisture moves through the slab.
Epoxy blocks surface moisture but can trap vapor underneath if you don’t address moisture issues before installation. If rising dampness or high water-vapor transmission exists, you must remediate it with a moisture barrier or vapor-control primer to prevent delamination. Designers considering microcement vs microtopping often weigh breathability against the need for waterproofing, especially in wet zones.
VOC content matters during installation and initial occupancy. Traditional solvent-based epoxies emit significant VOCs that can affect indoor air quality and trigger health complaints. Low-VOC epoxy formulations and water-based epoxy systems have become more common, offering safer application conditions for occupied buildings.
Many microtopping and microcement mixes use water as the primary carrier, resulting in lower VOC levels during application. Look for third-party certifications like GreenGuard or FloorScore to confirm low emissions, and ensure adequate ventilation during application to protect installers and occupants.
| Feature | Microtopping | Epoxy |
| Chemical resistance | Moderate (oils, household cleaners) | High (acids, solvents, fuels) |
| Moisture behavior | Breathable, allows vapor transmission | Impermeable, requires moisture barrier |
| VOC emissions | Low (water-based formulas common) | Variable (low-VOC options available) |
| Best for | Residential, light-commercial, eco-friendly projects | Garages, labs, commercial kitchens, industrial |
Maintenance, Repair, and Long-Term Ownership Costs
Keeping your floor in top condition over its service life requires simple daily cleaning routines and periodic professional care. Following manufacturer guidelines for cleaning agents and reseal intervals prevents premature wear, reduces repair frequency, and preserves warranty coverage.
Daily and Periodic Care
For microtopping, daily sweeping or dust mopping removes abrasive grit that can scratch the sealer. Use a pH-neutral floor cleaner for damp mopping, and wipe up spills immediately to prevent staining or etching. Most manufacturers recommend resealing every 2 to 5 years depending on traffic levels, and some high-use areas may need annual attention.
Epoxy floors need similar daily care—sweeping or vacuuming followed by damp mopping with a mild detergent solution. Avoid harsh solvents or abrasive scrubbers that can dull the glossy finish. Urethane or polyaspartic topcoats help extend time between reseals and reduce maintenance labor.
Repairability and Practical Fixes
Microtopping can be repaired with feathered patches and localized recoating when chips or gouges occur. Matching color and texture can challenge DIYers, so most repairs benefit from the same skilled contractor who installed the original system. Property owners asking is microtopping waterproof should know that sealers provide water resistance, but damage to the sealer layer can compromise that protection until repaired.
Epoxy repairs often involve spot-sanding and recoating, which most contractors can execute with good color and gloss match. Decorative flakes or metallic effects may require larger touch-up zones to maintain visual consistency.
Estimated Long-Term Costs
Plan for periodic reseal or topcoat applications as part of your long-term ownership budget. Costs vary by product and region, but expect to invest $0.50 to $1.50 per square foot for professional resealing every few years. Regular reseals protect the underlying floor, extend service life, and maintain the appearance that attracted you to the system in the first place.
| Maintenance Item | Microtopping | Epoxy |
| Daily care | Sweep, pH-neutral mop | Sweep/vacuum, mild detergent mop |
| Periodic work | Reseal every 2–5 years | Topcoat or reseal as needed |
| Typical reseal cost | $0.50–$1.50 / sq ft | $0.50–$1.50 / sq ft |
| Repairability | Can patch; color match tricky | Recoating straightforward |
Slip Resistance, Comfort Underfoot, and Safety in Wet Environments
When you’re selecting a floor system, safety and tactile comfort rank alongside aesthetics and durability. Slip resistance becomes critical in wet zones, so designers and facility managers must balance anti-slip additives with the desired look and feel.
Options for Anti-Slip Additives
Epoxy lets you dial in slip resistance by incorporating specialized aggregates into the topcoat. Silica sand, aluminum oxide, or polymer grit can be broadcast into wet epoxy to create a textured surface that improves traction in wet or oily conditions. Vinyl flakes offer moderate grip while maintaining a relatively smooth profile.
Textured microtopping achieves traction through application technique and sealer selection. Installers can leave a slight trowel texture, apply a non-slip additive to the final sealer coat, or specify matte and semi-textured sealers that naturally resist slipping. For wet areas, reviewing microcement bathroom pros and cons clarifies how slip resistance and water exposure interact.
Thermal Comfort and Underfoot Feel
Microtopping feels warmer and more forgiving underfoot compared to hard epoxy films. Its cementitious base absorbs and releases heat gradually, matching room temperature and making barefoot walking comfortable in residential living spaces, bedrooms, and bathrooms.
Epoxy, especially thick industrial formulations, presents a cooler, firmer surface. That characteristic suits environments where longevity and ease of cleaning outweigh thermal comfort—think warehouses, garages, and industrial spaces where workers wear shoes and rolling equipment dominates foot traffic.
Recommendations for Specific Applications
Commercial kitchens demand a high-performance, chemically resistant topcoat with proven slip resistance. Specify epoxy with anti-slip aggregates and confirm the system meets local health department slip-rating requirements.
Warehouse floors should prioritize abrasion tolerance and slip resistance under rolling loads. Epoxy or epoxy-quartz broadcast systems with documented slip ratings work well, and they tolerate the constant abuse from pallet jacks and forklifts.
Garage floors benefit from epoxy’s resistance to automotive chemicals paired with anti-slip aggregates that combat oil and fluid spills. For residential garages with light use, decorative microtopping can deliver an upscale look, but verify that the sealer and any texture meet the expected service conditions.
Design Flexibility, Aesthetics, and Choosing the Right Solution
Designers and homeowners evaluate design flexibility and customization options when committing to a new floor system. Epoxy offers bold, high-impact finishes like high-gloss sheens, metallic swirls, and colored flake broadcasts. It also supports logo integration and custom graphics, making it a strong choice for spaces where visual appeal and brand identity intersect.
Microtopping appeals to those seeking a minimalist, understated look. It can mimic polished concrete or natural stone in a seamless application, and it comes in custom colors and finishes that bring warmth and sophistication to kitchens, bathrooms, and modern living spaces. However, microcement cracking can occur if substrate movement isn’t controlled, so proper prep and expansion joints remain important.
When choosing between these systems, balance style preferences with functional requirements. Epoxy excels in environments needing chemical and abrasion resistance, fast turnaround, and bold aesthetics. Microtopping shines where you want a seamless, continuous surface with a softer feel and breathable properties that suit retrofit and eco-friendly projects.
Don’t ignore budget, timeline, and site conditions when making your final call. Both systems can adapt to various applications, but understanding your priorities—whether that’s heavy-duty performance or design elegance—will guide you toward the solution that delivers the best balance of form, function, and long-term value.
Why Terrazzo Granitech is the Best Microtopping Solution
When you’re ready to move beyond standard micro topping systems and want a product that combines superior performance with true design freedom, Terrazzo Granitech stands apart. This advanced cementitious overlay system delivers the seamless beauty of traditional microtopping while addressing common concerns like cracking, waterproofing, and long-term durability that often limit other products.
Terrazzo Granitech uses a proprietary blend of high-strength polymer-modified cement, fine aggregates, and advanced bonding agents that create a dense, flexible matrix. This formulation resists the shrinkage and microcracking that plague standard microcement products, especially when applied over dynamic substrates or in areas with temperature fluctuations. The result is a stable, monolithic surface that maintains its appearance and structural integrity for decades.
One of the most compelling advantages of Terrazzo Granitech is its waterproof performance after proper sealing. While many homeowners ask is microtopping waterproof, the answer depends heavily on the product and sealer system. Terrazzo Granitech’s tight particle packing and compatibility with premium penetrating or film-forming sealers create a barrier that stands up to moisture exposure in bathrooms, kitchens, and even outdoor applications. This makes it an excellent choice for wet zones where standard cement-based overlays would show premature wear or allow water infiltration.
The system also addresses the perennial issue of microcement cracking. Terrazzo Granitech’s flexible polymer content allows the overlay to accommodate minor substrate movement without telegraphing cracks to the surface. When combined with proper joint placement and substrate prep, this flexibility extends service life and reduces maintenance costs compared to rigid microtopping systems that crack under stress.
From a design standpoint, Terrazzo Granitech offers unmatched versatility. It can be troweled smooth for a refined, minimalist look or worked to a subtle texture for added slip resistance and tactile warmth. The color palette includes earthy neutrals, bold contemporary tones, and custom blends that let you match any design vision. Because the same material can be applied to floors, walls, countertops, and shower surrounds, Terrazzo Granitech creates a unified aesthetic that flows seamlessly through residential and commercial spaces.
Installation efficiency sets Terrazzo Granitech apart from slower-curing microtopping products. The system reaches initial set quickly, allowing faster project turnaround and reduced downtime for occupied spaces. Experienced installers appreciate the workability and extended open time that make it easier to achieve consistent results across large areas or complex geometries.
Long-term performance data from completed projects shows that Terrazzo Granitech maintains its appearance and physical properties well beyond the typical 10 to 15-year lifespan of standard micro topping. Floors installed more than a decade ago still show minimal wear, retain their original color depth, and require only routine cleaning and periodic resealing to look like new.
For contractors and specifiers evaluating microtopping pros and cons, Terrazzo Granitech tilts the balance decisively toward the “pro” column. It delivers the aesthetic appeal and breathability clients want while eliminating the cracking, moisture sensitivity, and durability concerns that often accompany lesser products.
When you factor in the system’s compatibility with radiant heating, low VOC content, and ability to overlay existing concrete, tile, or terrazzo without extensive demolition, Terrazzo Granitech emerges as the smart choice for projects where performance and design quality can’t be compromised. It bridges the gap between decorative overlays and high-performance industrial coatings, giving you a floor that looks beautiful and works hard for years to come.